Ironclad — Slay the Spire 2 Character Guide
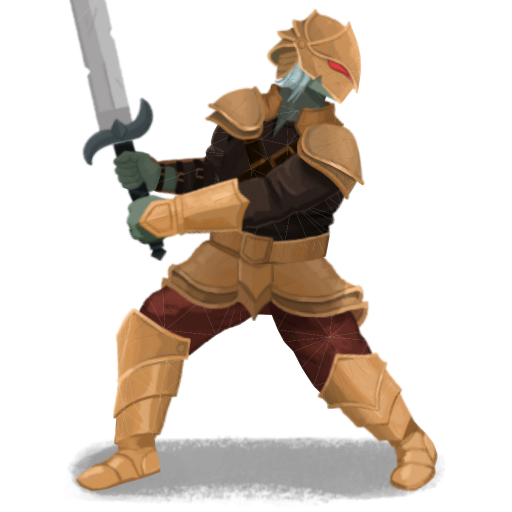
“The last soldier of the Ironclads. Crushes foes with sword and flame against his will.”
A battle-hardened warrior who sold his soul to harness demonic power. Excels at raw strength and self-healing through combat. His Burning Blood relic restores 6 HP after every fight, making him forgiving for newer players.
Resource System: Standard Energy (3 per turn). No secondary resource — pure strength and block management.
Unlock: Available from the start.
Best For: New players learning Slay the Spire 2 fundamentals. His high HP and healing forgive early mistakes.
Ironclad Core Mechanics — Detailed Breakdown
The Ironclad is the quintessential warrior of Slay the Spire 2 — a bruiser who thrives on raw power, self-sustain, and overwhelming force. His core identity revolves around the Strength buff, which adds flat damage to every single hit of every attack card he plays. This means that multi-hit attacks like Sword Boomerang, Twin Strike, and the devastating Whirlwind scale exponentially with Strength stacking. A single Inflame gives +2 Strength permanently, and Demon Form grants +2-3 Strength at the start of every turn. With enough Strength buffs online, even a humble Strike deals lethal damage.
The Ironclad's Burning Blood starting relic is arguably the most beginner-friendly relic in the entire game.
After every combat encounter, Burning Blood restores 6 HP automatically. In a game where healing opportunities are scarce and rest sites force a choice between healing and upgrading cards, having passive post-combat healing is enormously valuable. It means the Ironclad can afford to take chip damage during fights without spiraling into dangerous HP territory, giving new players more room to learn enemy patterns and combat timing.
The Exhaust mechanic is another cornerstone of the Ironclad's toolkit.
Cards like True Grit, Fiend Fire, and Corruption Exhaust other cards from your hand or deck during combat. While this might seem like a downside, it's actually a powerful deck-thinning tool. Cards like Feel No Pain grant Block whenever a card is Exhausted, and Dark Embrace draws a card whenever you Exhaust something. These synergies turn Exhaust into a self-fueling engine that simultaneously thins your deck, generates defense, and draws into your best cards.
Body Slam is a unique attack that deals damage equal to your current Block value.
This converts every point of Block into offensive power, meaning a defensive turn followed by Body Slam can deal massive damage while keeping you safe. When upgraded, Body Slam's cost drops to 0, making it one of the most efficient damage-per-energy cards in the game. Pair it with Barricade (Block doesn't expire at end of turn) for an unstoppable defense-into-offense strategy that scales infinitely.
The Ironclad also has access to the Perfected Strike archetype, where the card Perfected Strike gains +2 damage for every Strike card in your deck. This uniquely rewards keeping Strike cards rather than removing them, creating an alternative deckbuilding philosophy where quantity has a quality all its own. Combined with Hellraiser, which lets you play Strikes for free, and Wild Strike for additional Strike generation, this archetype turns the usually-weak starting cards into a legitimate win condition.
Ironclad Playstyle & Strategy Tips
If you just want a simple deck that can carry you through to Act 3, try to pick up and build around Body Slam, which directly converts Block value into offensive punch. Focus on maximum defense, and when you draw a Body Slam (ideally upgraded), use it to slap down whatever's in your way. For more aggressive play, stack Strength through Inflame and Demon Form, then unleash devastating Heavy Blade attacks.
The Ironclad's starting deck consists of 5 Strikes, 4 Defends, and Bash. This is the simplest starting deck in the game with a clear damage/defense split. Your early priority is removing Strikes (they become dead draws as your deck improves) and upgrading Bash for its incredible 3-turn Vulnerable debuff. Look for a Strength source or Body Slam within the first few card rewards to establish your scaling direction.
Ironclad Traits & Abilities Explained
Strength Scaling
Strength is the Ironclad's primary scaling mechanic. Each point of Strength adds +1 damage to every hit of every attack card. On multi-hit attacks like Sword Boomerang (3 hits) or Whirlwind (hits for each Energy spent), this bonus multiplies dramatically. Key Strength sources include Inflame (+2 permanent), Demon Form (+2-3 per turn), Spot Weakness (+3 if enemy attacks), and Limit Break (doubles current Strength). A single Limit Break with 10 Strength jumps you to 20 — enough to one-shot most non-boss enemies.
Self-Healing
The Ironclad is the only character with reliable passive healing. Burning Blood restores 6 HP after every fight, and Reaper deals damage to all enemies while healing for the total damage dealt. Feed permanently increases max HP when it kills an enemy, creating long-term survivability scaling. Bandage Up adds a heal-on-demand skill, and Bite (from vampirism events) heals 2 HP per play. This self-sustain lets the Ironclad play more aggressively, taking fights other characters might avoid.
Exhaust Synergy
Exhaust removes cards from the current combat permanently. While this sounds risky, the Ironclad has multiple payoffs: Feel No Pain grants 3-4 Block per Exhaust, Dark Embrace draws a card per Exhaust, and Corruption makes all Skills cost 0 Energy but Exhaust after use. Combined, these create a deck-thinning engine where playing Skills generates free Block and card draw while naturally cycling to your power cards. Fiend Fire exhausts your entire hand for massive single-target damage.
High HP Pool
At 80 starting HP, the Ironclad has the highest base health in Slay the Spire 2. This isn't just a safety net — it's a resource. Higher HP means you can afford to path through more Elite fights in Act 1 to collect powerful relics, take advantageous event options that cost HP, and survive bad draws without ending the run. Feed can push your max HP even higher, sometimes reaching 100+ by Act 3, making the Ironclad the character least likely to die from unlucky RNG.
Ironclad Strengths & Weaknesses
Strengths
Highest Survivability in the Game
With 80 HP and Burning Blood's 6 HP post-combat healing, the Ironclad has the largest effective health pool of any character. This lets you take risks other characters can't — pathing through extra Elites, accepting HP-cost events, and weathering bad draws without dying. Feed can push your max HP above 100.
Devastating Strength Scaling
Strength is the most straightforward and powerful scaling mechanic in Slay the Spire 2. With Demon Form providing +2-3 per turn and Limit Break doubling your total, the Ironclad's damage output grows exponentially. Multi-hit attacks multiply this bonus, letting you deal 100+ damage in a single card.
Flexible Win Conditions
Body Slam converts defense into offense. Exhaust engines thin your deck while generating Block. Strength stacking overwhelms enemies with raw power. Perfected Strike turns basic cards into finishers. The Ironclad has more viable build paths than any other character.
Simple but Effective
You don't need to manage secondary resources, track orb slots, or balance two currencies. The Ironclad's gameplan is intuitive — get Strength, play attacks, stack Block, win. This simplicity makes him the most consistent character for players learning the game.
Weaknesses
Slow Early Game Scaling
Unlike the Silent (who can stack poison immediately) or the Defect (who has orbs from turn 1), the Ironclad needs to find and play Strength cards before his scaling kicks in. Without Inflame or Demon Form, you're stuck dealing base damage for multiple fights.
Exhaust Can Backfire
If you Exhaust key cards accidentally (through Corruption with bad hand ordering or True Grit's random Exhaust), you can lose critical pieces of your engine mid-combat with no way to recover them. Exhaust builds require careful hand management.
Limited Multi-Target Options
Compared to the Defect's Lightning AoE or the Silent's Noxious Fumes, the Ironclad has fewer efficient ways to handle multiple enemies simultaneously. Whirlwind requires high Energy, and Reaper requires high Strength. Many fights with 3+ enemies are harder for the Ironclad.
Reliant on Key Power Cards
Demon Form, Barricade, Corruption, and Feel No Pain are the cards that make Ironclad builds truly powerful. If these rare cards don't appear in card rewards, the Ironclad can feel underpowered compared to characters with more reliable common-rarity scaling.
Ironclad Starting Deck Strategy
The Ironclad's starting deck consists of 5 Strikes, 4 Defends, and Bash. This is the simplest starting deck in the game with a clear damage/defense split. Your early priority is removing Strikes (they become dead draws as your deck improves) and upgrading Bash for its incredible 3-turn Vulnerable debuff. Look for a Strength source or Body Slam within the first few card rewards to establish your scaling direction.
Usage
Your basic damage card. Deals 6 damage for 1 Energy. Functional but inefficient — most character-specific attacks outclass it quickly.
Upgrade Priority
Very Low. Strike+ only adds 3 damage. Your upgrade resources are better spent on Bash or power cards.
When to Replace
Remove Strikes at shops as soon as possible. Each Strike removed makes your deck faster and more consistent. Exception: Perfected Strike builds want to keep Strikes.
Usage
Your basic Block card. Provides 5 Block for 1 Energy. Necessary for survival but quickly outclassed by better defensive options.
Upgrade Priority
Low. Defend+ gives 8 Block, which is decent but not game-changing. Upgrade only if you have nothing better to upgrade.
When to Replace
Replace with cards like Shrug It Off (Block + card draw), True Grit (Block + Exhaust), or Iron Wave (Block + damage). Keep 2-3 until you have replacements.
Usage
Deals 8 damage and applies 2 turns of Vulnerable. Vulnerable makes enemies take 50% more damage from all attacks — this is your best scaling enabler in the early game.
Upgrade Priority
Highest Priority. Bash+ applies 3 turns of Vulnerable instead of 2. That extra turn of 50% damage bonus is worth more than upgrading any other starting card.
When to Replace
Rarely replace Bash. Even in late-game decks, a single Vulnerable application card is almost always worth keeping. Only consider replacing if you have abundant Vulnerable from other sources.
Starting Deck

Ironclad Card Tier List — Must Pick, Great, Situational & Skip


Demon Form
Gain 2-3 Strength every turn. This single power card wins runs by itself when played early in a fight.

Barricade
Block no longer expires at end of turn. Combined with Body Slam, this creates an unbreakable defense-into-offense engine.


Corruption
All Skills cost 0 Energy but Exhaust. With Dark Embrace and Feel No Pain, this is the most powerful engine in the Ironclad's kit.


Offering
Lose 6 HP, gain 2 Energy and draw 3 cards. The best burst card in the game — play it on critical turns for explosive potential.


Feed
Kill an enemy to gain 3-4 max HP permanently. Scales your survivability across the entire run, especially powerful in Act 1.


Body Slam
Damage equals your current Block. Upgraded costs 0 Energy. The best payoff card for defensive builds.


Inflame
Gain 2 permanent Strength. Simple, efficient, and always useful. The most reliable early Strength source.


Shrug It Off
8 Block + draw 1 card. Block that cycles your deck is always valuable — this is the Ironclad's best common defensive card.

Battle Trance
Draw 3 cards but can't draw additional cards this turn. Excellent for setting up explosive turns.

Feel No Pain
Gain 3-4 Block whenever a card is Exhausted. The cornerstone of Exhaust-based defense strategies.

Dark Embrace
Draw 1 card whenever a card is Exhausted. Essential for Exhaust engines — keeps your hand full while you thin your deck.
Reaper
Deal damage to ALL enemies and heal for the total damage dealt. AoE + healing in one card. Incredible with Strength.


Whirlwind
Deals damage X times where X is current Energy. Insane with high Strength and Energy generation, but mediocre without both.
Heavy Blade
Deals 14 damage with 3x Strength multiplier (5x upgraded). Devastating with high Strength but underwhelming at base Strength.
Limit Break
Doubles your current Strength. Exponential scaling but requires existing Strength to be useful. Dead card at 0 Strength.

Fiend Fire
Exhaust your entire hand, deal 7 damage for each card exhausted. All-in burst card. Synergizes with Feel No Pain.

Second Wind
Exhaust all non-Attack cards in hand, gain Block for each. Great in Exhaust builds, terrible without Exhaust payoffs.

Perfected Strike
Gains +2 damage per Strike card in deck. Only take if you're committed to a Strike-focused strategy.
Clash
Deals 14 damage but only playable if you have no non-Attack cards in hand. Too restrictive for consistent play.
Wild Strike
Deals 12 damage but shuffles a Wound (useless card) into your deck. The Wound dilutes future draws.
Searing Blow
Can be upgraded multiple times for increasing damage. Fun but uses too many upgrade resources that are better spent elsewhere.
Warcry
Draw 1 card and put 1 card from hand on top of draw pile. Too slow — better draw options exist.
Best Relics for Ironclad

Vajra
Start each combat with 1 Strength.
Grants +1 Strength at the start of every combat. Permanent, passive Strength that makes every attack better from turn 1.

Bag of Marbles
At the start of each combat, apply 1 Vulnerable to ALL enemies.
Applies 1 Vulnerable to ALL enemies at the start of combat. Free 50% damage bonus on your crucial first turns.
Thread and Needle
Start every combat with 4 Plated Armor.
Start every combat with 4 Plated Armor (gain 4 Block each turn). Provides consistent defense while you set up Strength.

Paper Krane
Enemies with Weak deal 40% less damage to you rather than 25%.
Weak enemies deal 40% less damage instead of 25%. Stacks with your Bash's Vulnerable to dramatically reduce incoming damage.

Shuriken
Every time you play 3 Attacks in a single turn, gain 1 Strength.
Gain 1 Strength every time you play 3 Attacks in a turn. Snowballs quickly with multi-attack turns and Whirlwind.

Red Skull
While your HP is at or below 50%, you have 3 additional Strength.
Gain 3 Strength when below 50% HP. Synergizes with the Ironclad's healing — you can safely dip below 50% knowing you'll heal back.
Ironclad Ascension Tips — How to Push Higher Ascension Levels
At Ascension 1+, Elite fights deal more damage. Use Burning Blood's healing to offset the extra damage — the relics from Elites are crucial for Ascension progression.
Ascension 6 adds the Deadly modifier to some monsters. Having a Body Slam or Fiend Fire ready for burst damage becomes much more important to close out fights quickly.
At Ascension 10+, the Act 1 boss is significantly harder. Rush for a Strength source (Inflame, Spot Weakness) in Act 1 to ensure you can kill the boss before it scales beyond your defenses.
Ascension 15+ reduces healing from all sources. Burning Blood still heals 6 HP, but rest sites heal less. This makes Feed even more valuable — prioritize picking it up and using it on Act 1 hallway fights.
For Ascension 18+, Corruption + Dark Embrace + Feel No Pain is the strongest Ironclad engine. Practice setting up this combo quickly, as fights become too dangerous to play slowly.
At the highest Ascensions, skip Strikes aggressively. Every Strike in your deck is a dead draw that could have been a Shrug It Off or a power card. Spend gold at shops to remove Strikes before buying cards.
Recommended Ironclad Builds
Ironclad Strength Build
The classic Strength scaling build. Stack Strength through Inflame and Demon Form, then unleash devastating Heavy Blade attacks. One of the most consistent and beginner-friendly archetypes in Slay the Spire 2.
InflameDemon FormOfferingThis build revolves around accumulating Strength and converting it into massive single-hit damage via Heavy Blade. Inflame provides immediate Strength boosts, while Demon Form ensures infinite scaling in long fights. Offering solves energy and draw problems on key turns.
AIronclad Barricade Build
A defensive powerhouse that converts Block into lethal damage. Barricade keeps your Block between turns while Body Slam deals damage equal to your current Block. The ultimate 'best defense is a good offense' strategy.
BarricadeBody Slam ImperviousShrug It Off
This build flips the usual Ironclad aggression on its head. Instead of stacking Strength, you stack Block — and then Body Slam converts all that Block into massive damage. Barricade is the keystone that lets your Block persist across turns.
AIronclad Exhaust Build
Leverage Exhaust synergies to turn your entire deck into an unstoppable engine. Every exhausted card generates Block, draws cards, and with Dead Branch, creates random replacements. Controlled chaos at its finest.
CorruptionDark EmbraceFeel No PainFiend FireThe Exhaust build treats your deck as fuel. Feel No Pain generates Block, Dark Embrace draws cards, and Corruption makes Skills free while exhausting them. Once the engine is assembled, you can loop through dozens of cards in a single turn.
Ironclad Cards (88)
All Cards →| Card | Type | Cost | Rarity | Effect |
|---|---|---|---|---|
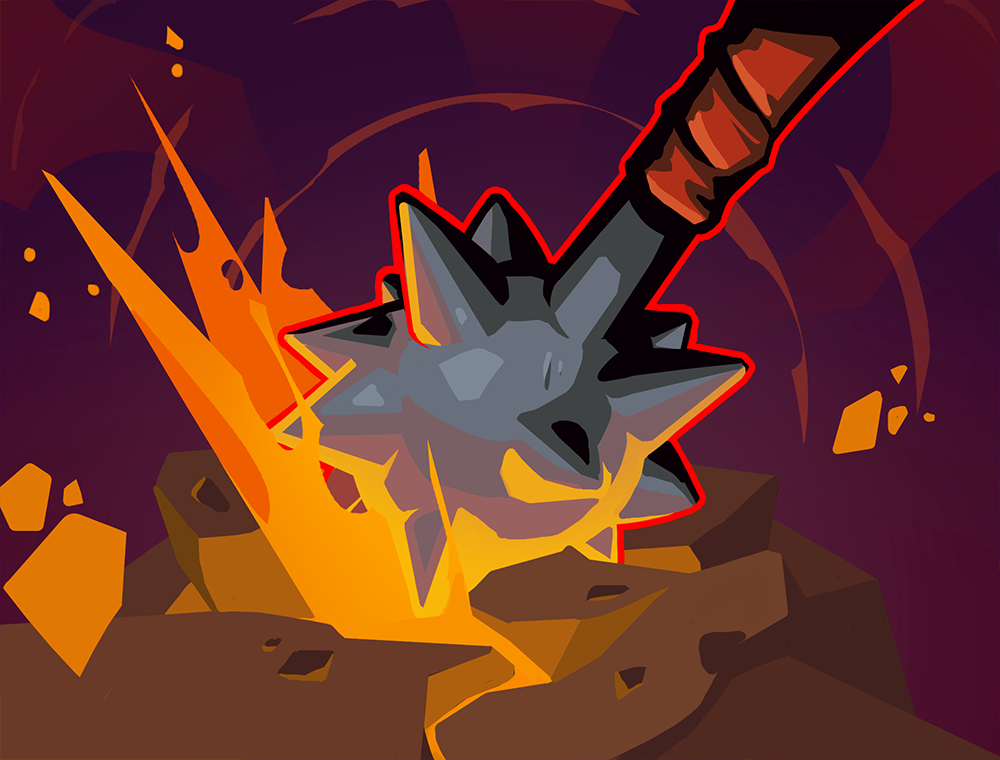 | Attack | 2 | Basic | |
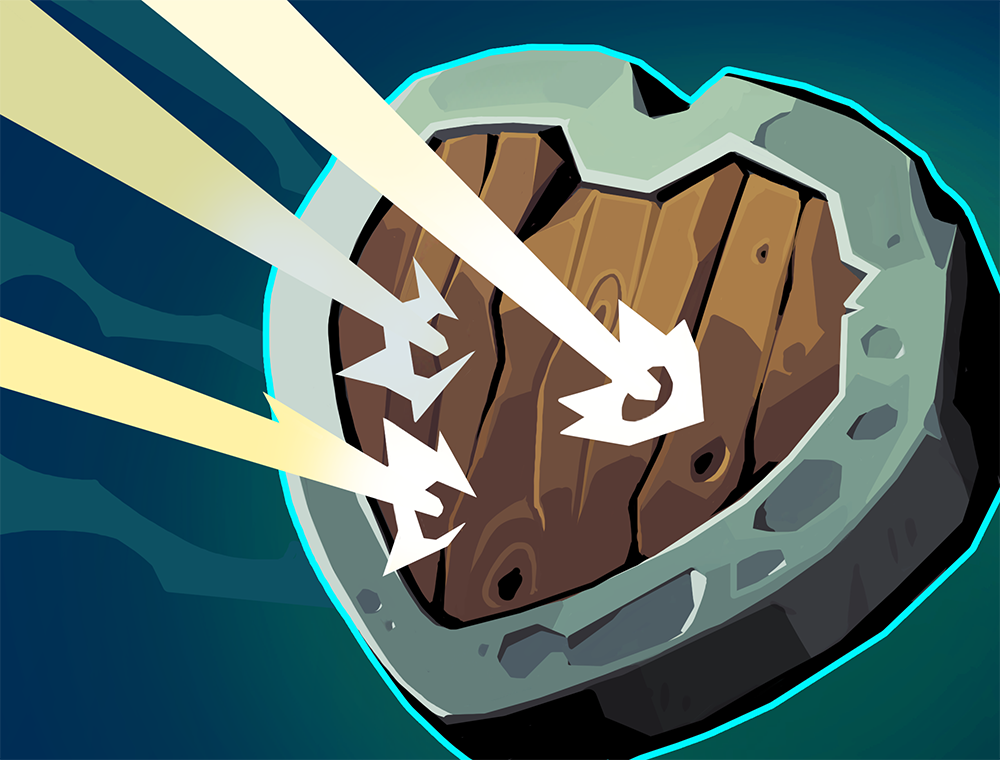 | Skill | 1 | Basic | |
 | Attack | 1 | Basic | |
 | Attack | 0 | Common | |
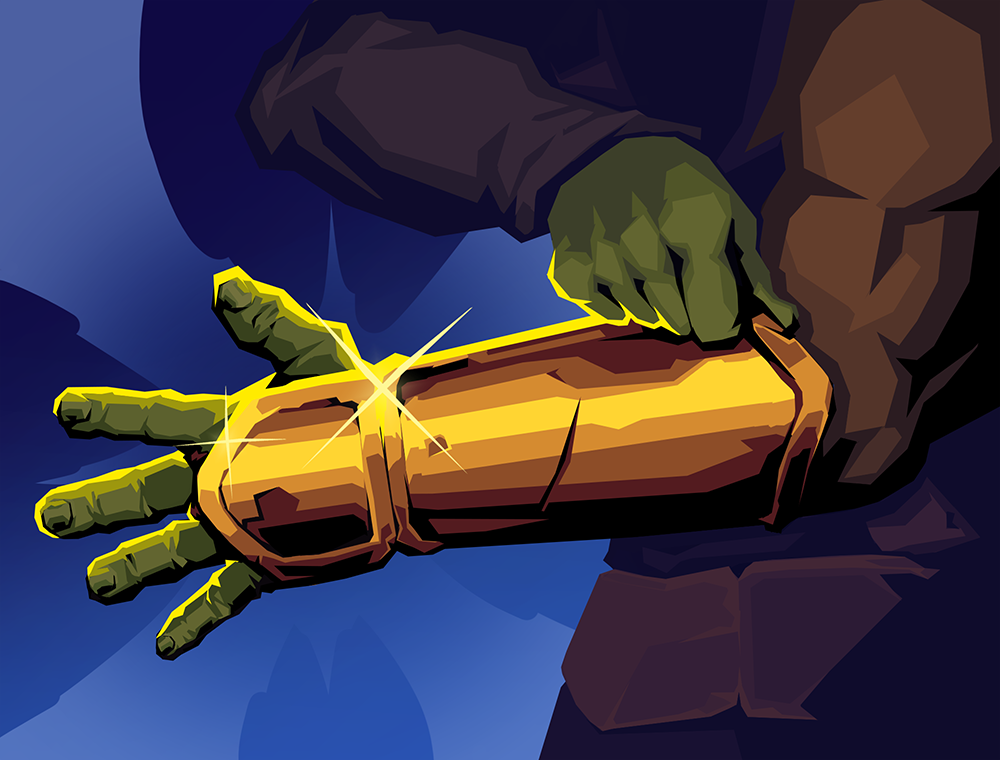 | Skill | 1 | Common | |
 | Skill | 2 | Common | |
 | Skill | 0 | Common | |
| Attack | 1 | Common | |
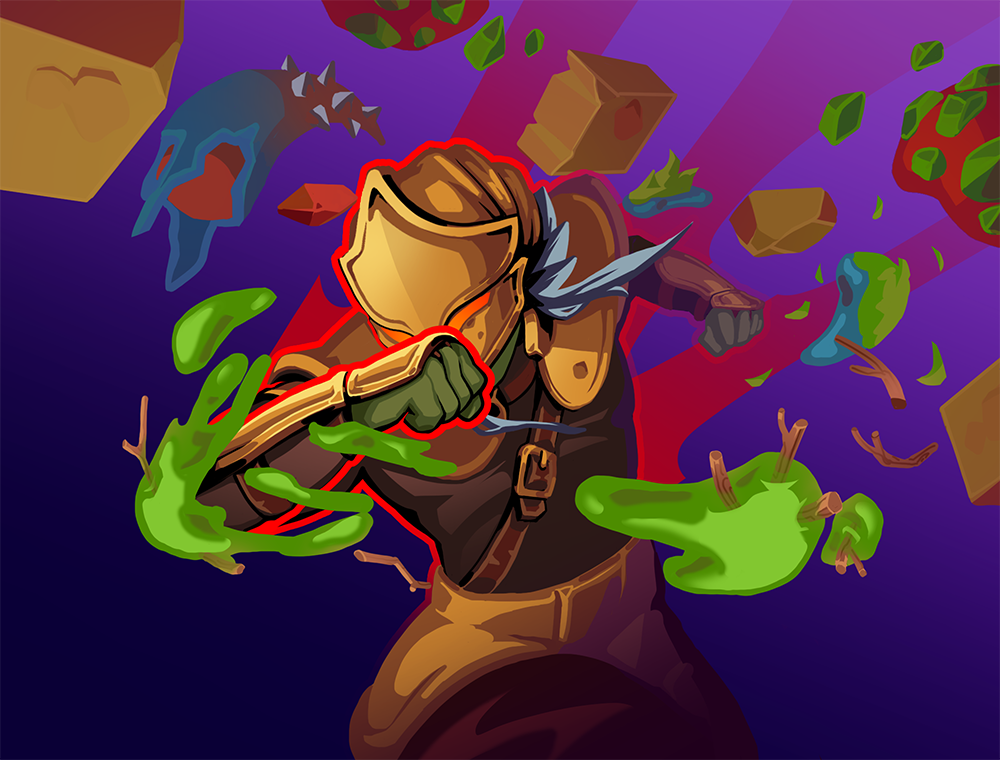 | Attack | 1 | Common | |
 | Attack | 2 | Common |
Ironclad FAQ — Frequently Asked Questions
What is the best Ironclad build in Slay the Spire 2?
The Strength + Body Slam build is the most consistent. Stack Strength through Inflame and Demon Form, generate Block with Shrug It Off and Iron Wave, then use Body Slam (upgraded to 0 cost) to convert your Block into massive damage. Barricade makes this build nearly unbeatable by letting Block persist between turns.
Should I always upgrade Bash first as Ironclad?
In most cases, yes. Bash+ applies 3 turns of Vulnerable instead of 2, which translates to 50% more damage from all attacks for an extra turn. This is more valuable than upgrading any other starting card. The only exception is if you've already picked up a rare power card like Demon Form that would benefit more from an early upgrade.
When should I go for an Exhaust build vs a Strength build?
Go for Exhaust when you find Corruption and/or Feel No Pain and Dark Embrace early. Go for Strength when you find Demon Form, Inflame, or Limit Break early. Both builds can win runs — commit to whichever archetype you find pieces for first. Mixing both is possible but harder to execute consistently.
Is the Ironclad good at high Ascension levels?
Yes, the Ironclad is A-tier at all Ascension levels. While he doesn't have the ceiling of the Silent or Defect, his consistency, self-healing, and multiple viable archetypes make him competitive even at Ascension 20. His forgiving HP pool means fewer runs end to unlucky RNG.
Should I remove Strikes or Defends at shops?
Remove Strikes first in most cases. Defends provide Block, which keeps you alive. Strikes are quickly outclassed by any character-specific attack card. The exception is Body Slam builds where you want maximum Block generation — in that case, remove Strikes and keep all Defends.
How does Burning Blood compare to other starting relics?
Burning Blood is the most consistent starting relic in the game. While it doesn't offer the explosive potential of Ring of the Snake (Silent) or the mechanical depth of Cracked Core (Defect), its reliable 6 HP per fight adds up to 60-80+ HP restored over a full run. This passive healing is why the Ironclad is the best character for learning the game.
Quick Facts
- Tier
- A
- Difficulty
- Beginner
- Starting HP
- 80
- Starting Relic
- Burning Blood
- Total Cards
- 88
- Total Builds
- 3
- Unlock
- Available from the start.