
Ironclad Card Tier List
Ironclad is the most polarizing character in Slay the Spire 2. The dominant strategy is forcing infinite every run — once you understand how to go infinite, runs become very consistent. Act 1 is the hardest part; if you survive it, you usually win. The character is in a unique balance state with one dominant playstyle centered around exhaust loops. Bloodletting at Common rarity makes infinite combos extremely accessible, and Stoke is considered by far the best card in the entire class.
Infinite Enablers & Core Engine
14 cards
These are the cards that define Ironclad's dominant infinite strategy. Most are common or uncommon, making the infinite plan extremely consistent. The core loop involves energy generation (Bloodletting, Expect to Fight, Forgotten Ritual) + draw/exhaust (Burning Pact, Pommel Strike, Stoke) to cycle your deck infinitely.


Lose 3 HP.Gain.
The most polarizing card in the class. Reusable energy generation at Common rarity is absurd — it's what turns Ironclad into Watcher-level power. Lose 3 HP is often a positive with Ironclad's healing synergies (starter relic heals 6 per combat). Pick the first good energy generation on sight. Enables every infinite combo in the character.


Exhaust 1 card.Draw 2 cards.
The #1 infinite enabler. Self-cycles by exhausting a card and drawing. With Brand, Second Wind, or any exhaust piece, this card becomes the engine that powers your entire deck. Bloodletting at Common makes this enter your deck much more often. Best-in-class single-target exhaust card.

Gain Energy for each Attack in your Hand.You cannot gain additional Energy this turn.
Gain 1 energy for each attack in hand — does NOT exhaust. Can generate 5-7 energy per turn. Works beautifully with Second Wind exhausting non-attacks, leaving your hand full of attacks. Completely disgusting energy generation that scales with your deck composition.
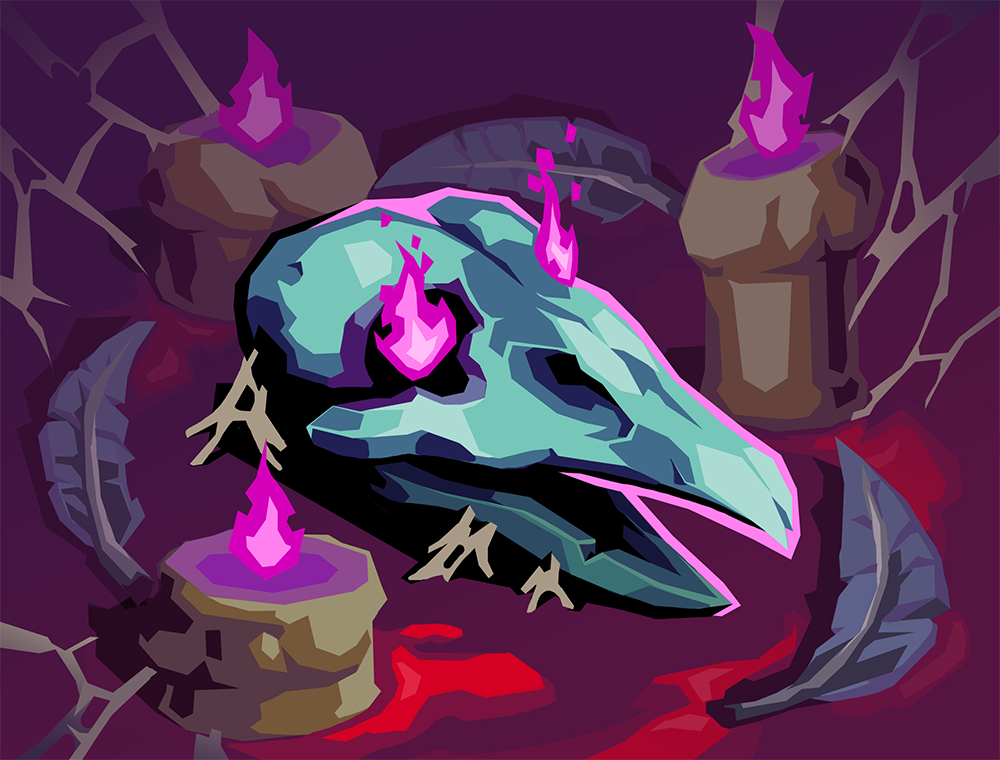
If you Exhausted a card this turn, gain.Exhaust.
If you exhausted a card this turn, gain 3 energy (4 upgraded). Trivial condition in any exhaust deck. Loop your entire deck with excess energy for Pommel Strike loops + Burning Pact. Same power level as Expect to Fight but for different deck compositions.


Lose 6 HP.Gain.Draw 3 cards.Exhaust.
Classic acceleration — lose 6 HP, gain 2 energy, draw 3, exhaust. Life loss is irrelevant on Ironclad. Lines up combo pieces perfectly and gives energy for exhaust cards. Still as cracked as Spire 1 — always a top pick regardless of build state.
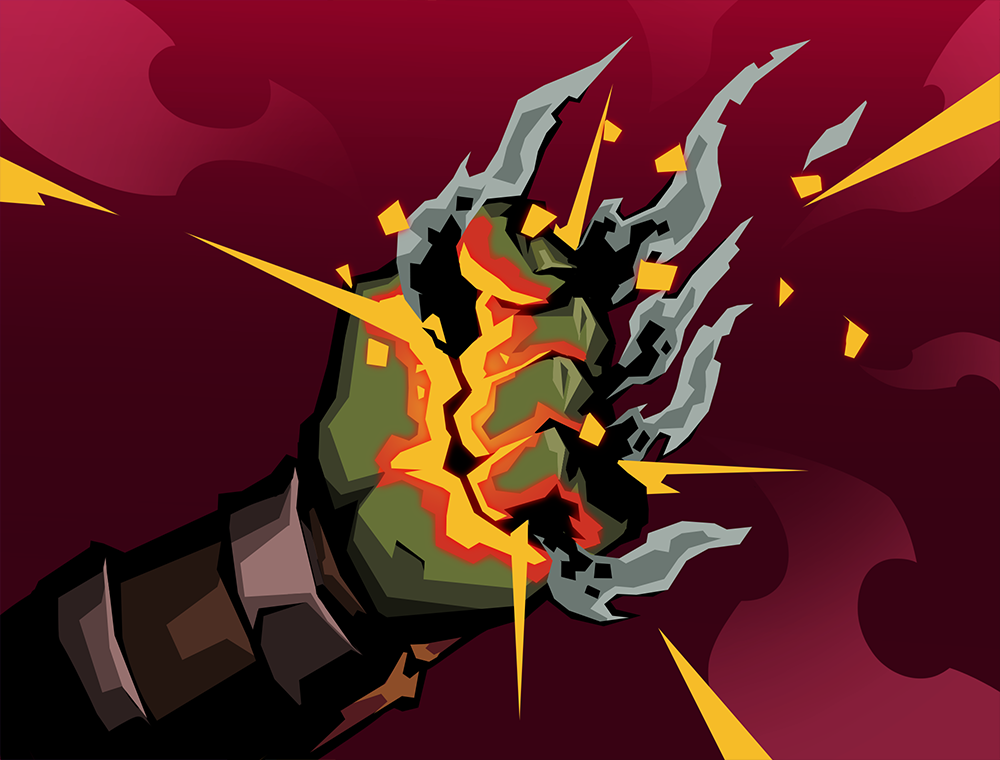


Deal 6 damage.Draw cards until you draw a non-Attack card.
Deal 6 damage, draw cards until you draw a non-attack. Often redraws your entire deck in small decks. With Second Wind exhausting skills, Pillage draws everything back. A Strike that draws your whole deck — good in Act 1 for damage and broken in endgame for combo enablement. No risk, always gets into the deck.


Deal 9 damage.Draw 1 card.
1 energy deal 9, draw 1 (upgrades to 10 damage draw 2). THE main infinite enabler at Common rarity. With Bloodletting, goes infinite with itself and any draw card. Expect to Fight generates energy just from having Pommel in hand. Pick every Pommel Strike you see — it's the backbone of Ironclad infinite.
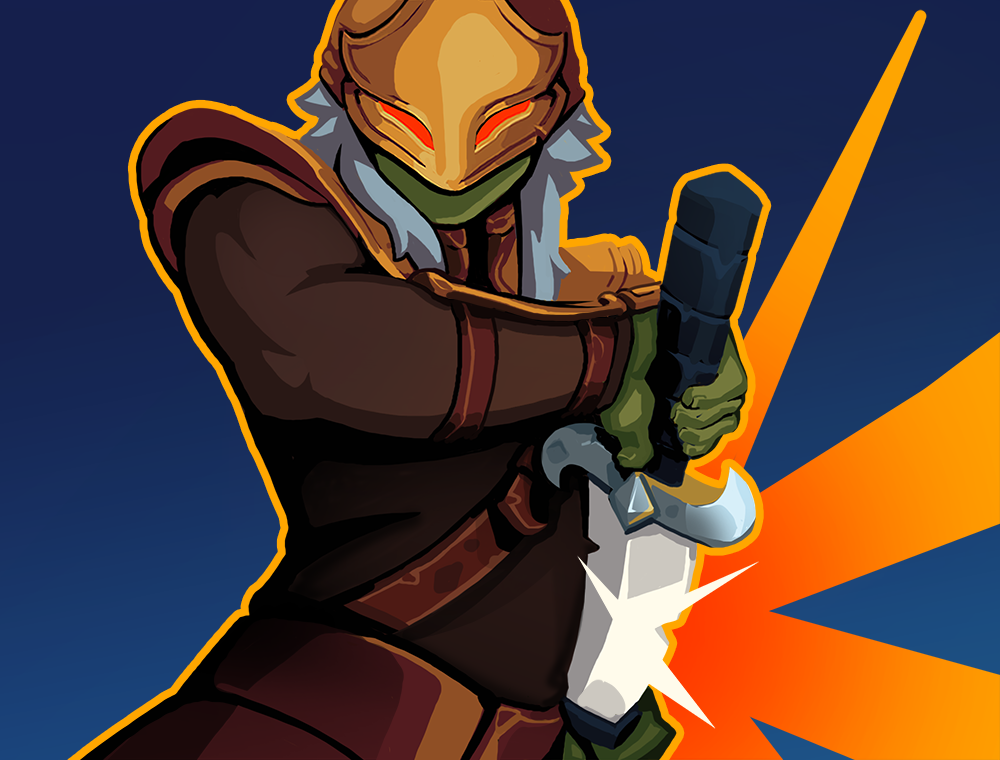
Exhaust all non-Attack cards in your Hand. Gain 5 Block for each card Exhausted.
Exhaust all non-attack cards in hand, gain 5 block per card exhausted. One of the main infinite enablers — clears statuses vs Frog elites and Fish boss, enables Pillage to draw your entire deck. Bottom of S tier but essential for many infinite configurations.
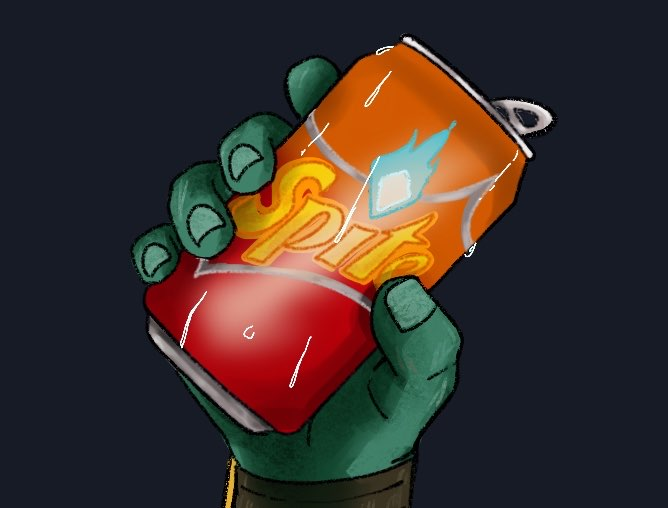
Deal 5 damage.If you lost HP, hits 2 times.
0 energy deal 6. If you lost HP this turn, draw 1. Zero-cost draw that pairs with Bloodletting for infinite loops. Two Spites + Bloodletting = infinite. At worst it's an Anger, at best it's a core infinite package piece. The floor is high and the ceiling is broken.

Exhaust your Hand.Add 1 random Upgraded card per card Exhausted.
Exhaust your hand, draw a card for each exhausted. Upgrades to 0 energy. Described as 'by far the best card in the entire class.' It's Fiend Fire + Dark Embrace effect on a single card with no synergy required. Dominates every game state it appears in.


Whenever you apply Vulnerable, draw 1 card.
Whenever you apply Vulnerable, draw 1 card (upgrades to draw 2). This is Rushdown but better — your base deck already applies Vulnerable with Bash. Thunderclap applies Vulnerable to all enemies, drawing per enemy hit. Creates a draw engine that makes the entire deck function.
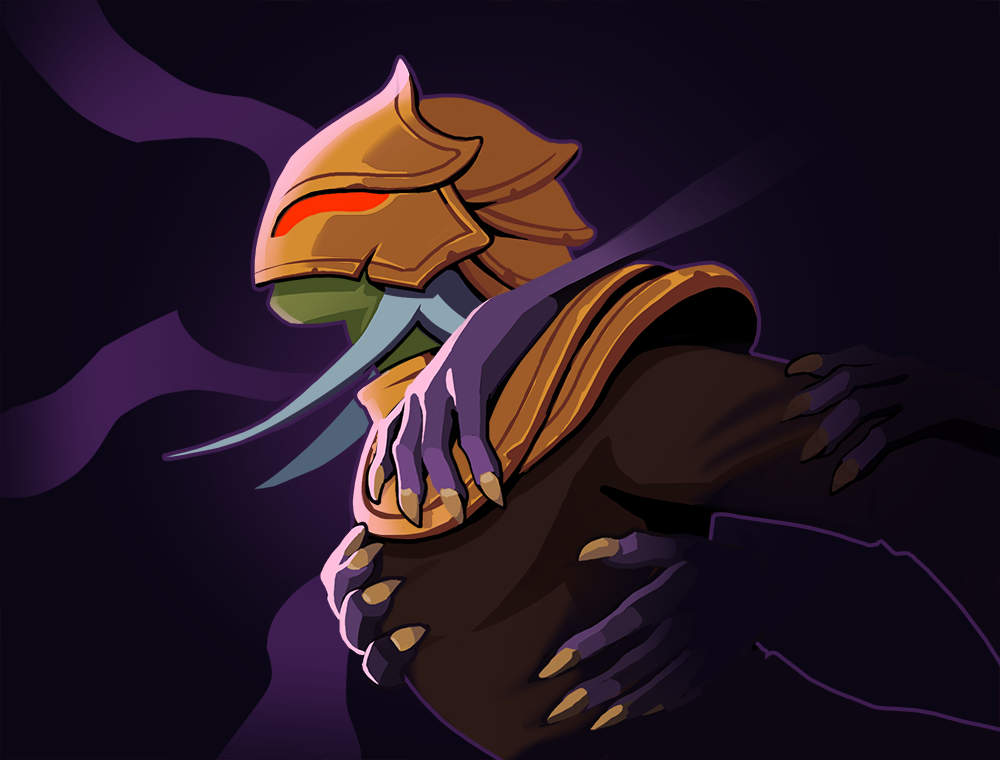

Whenever a card is Exhausted,draw 1 card.
Draw 1 card whenever a card is exhausted. Extremely powerful — upgrades to 1 energy cost. Acceleration lets you draw your entire deck with Bloodletting and energy sources. S tier despite being Rare because it single-handedly enables exhaust strategies.

Deal 12 damage to ALL enemies.Costs 1 less for each Attack played this turn.
3 energy deal 12 to all, costs 1 less per attack played this turn. Often becomes 0-cost. One of the strongest non-infinite cards in the class. 12 AoE for 0 energy at Common with a Pommel Strike loop. Favorite card for both design and raw power.


Can only be played if you have 3 or more cards in your Exhaust Pile.Deal 17 damage to ALL enemies.
0-cost deal 17 AoE damage if 3+ cards exhausted this turn. Trivial condition in any exhaust build — Ascender's Bane alone counts toward the threshold. Enablers are always in your deck. Bottom of S tier or top of A.
Strong Support & Combo Pieces
5 cards
These cards provide strong support for the infinite strategy or serve as powerful standalone picks. They don't single-handedly enable infinite but significantly accelerate your deck when paired with the right pieces.
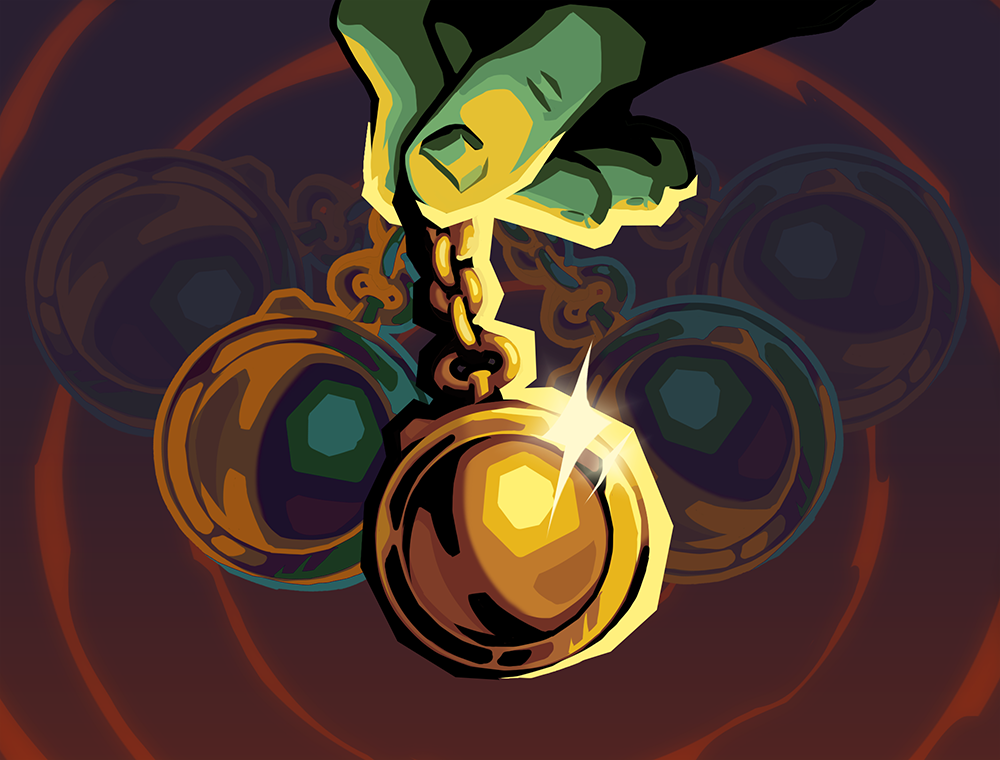
Draw 3 cards.You cannot draw additional cards this turn.
Draw 3 cards, can't draw additional cards this turn. No punishment for loading deck with skills. Lines up combo pieces together and lets you exhaust cards with Second Wind. May warrant an S tier placement in some metas.
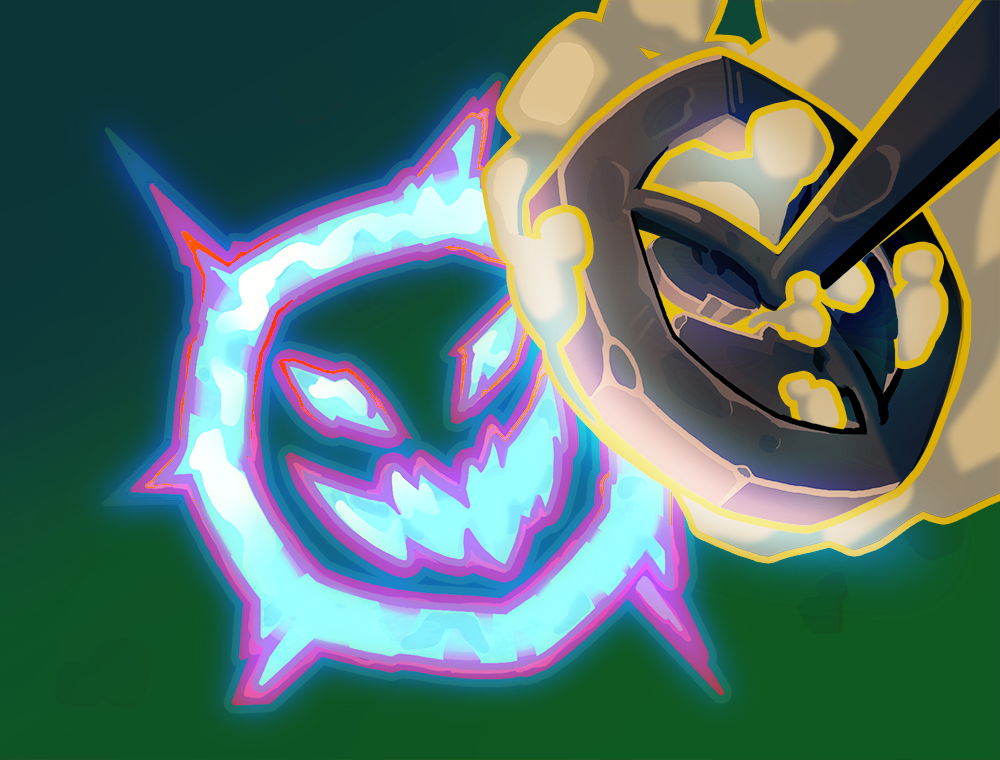
Lose 1 HP.Exhaust 1 card.Gain 1 Strength.
0 energy, lose 1 HP, exhaust one card, gain 1 strength. The strength is irrelevant — 0-energy targeted exhaust is the real value. Being Rare bumps it down; if it were Uncommon it would be S tier.

Deal 10 damage.If Fatal, raise your Max HP by 3.Exhaust.
Max HP scaling through kills. Less important than in Spire 1 but still valuable for extending your health pool through long runs. Helps survive Act 1 while building toward endgame.

Gain 7 Block.Apply 1 Vulnerable.
1 energy gain 7 block, apply 1 Vulnerable. Extends Bash's Vulnerable duration so you don't feel pressure to capitalize immediately. 7 block is a solid number. Becomes a draw engine when paired with Vicious — never falls off.

Deal 4 damage twice.Exhaust a random Attack in your Hand and add its damage to this card.
1 energy Rare: deal 4x2, exhaust random attack, add its damage. Scaling in boss fights as it absorbs attack damage. Don't exhaust Pommel Strike with it. Top of A tier — strong burst that also thins your deck.
Act 1 Solves & Situational Support
26 cards
B-tier cards serve important roles in Act 1 survival and provide value in specific situations, but they don't directly contribute to the dominant infinite strategy. Many are strong early game picks that you may remove or transform later.

Deal 6 damage.Add a copy of this card into your Discard Pile.
0 energy deal 6, add copy to discard. Strong Act 1 pick for immediate damage. Endgame: Anger + Burning Pact creates a permanent 0-cost exhaust fodder loop. Early game is the scariest part — Anger helps you survive.

Block is not removed at the start of your turn.
3 energy, block not removed between turns. Much worse than Spire 1 — there's less demand for huge block turns now. Expensive and doesn't win on the spot. Only useful in specific matchups like Waterfall Giants.

Deal 32 damage.
3 energy deal 32. Now Uncommon rarity — big bonk to end fights. Combos well with Bloodletting for energy. Makes Bloodletting's energy generation immediately impactful in Act 1.
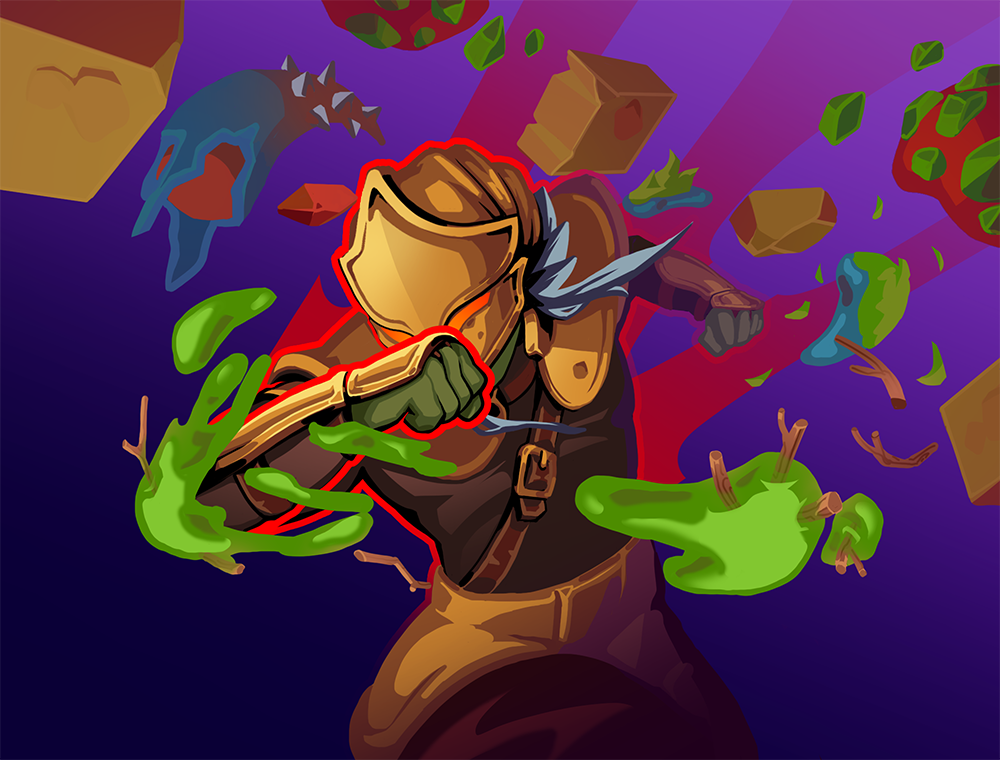
Lose 1 HP.Deal 9 damage to ALL enemies.
1 energy lose 1 HP deal 9 to all. One of the weaker AoE cards, but AoE is AoE — Act 1 survival pick. Could reasonably drop to C tier.

Gain 5 Block.You receive 50% less damage from Vulnerable enemies this turn.
1 energy gain 5 block, take 50% less damage from enemies. Lots of block value, but with Bloodletting + infinite combo available, you often ignore purely defensive cards. Bottom of B.
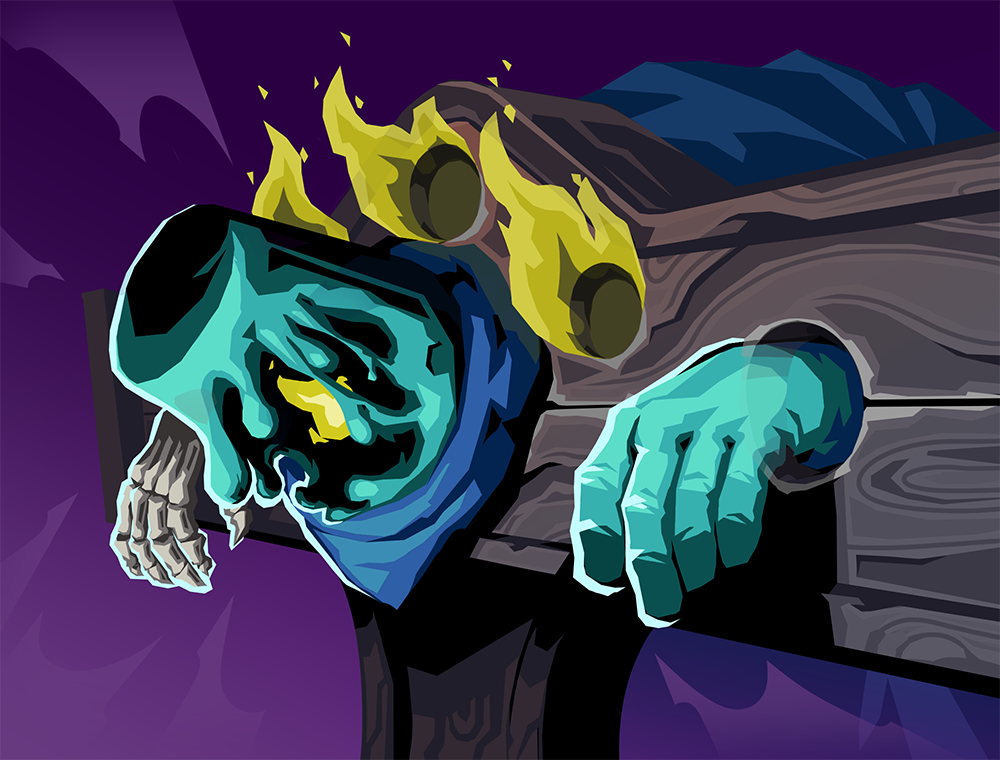
Vulnerable enemies take an additional 25% damage.
1 energy: Vulnerable enemies take 25% more damage. Powerful effect on paper, but when your goal is going infinite, bonus damage doesn't matter. The entire strategy is about reaching infinite — not amplifying damage.

At the start of your turn, gain 2 Strength.
3 energy gain 2 strength per turn. A curse in endgame because you're always going infinite and don't need strength. Kills Act 1 bosses though — that's the only reason it's B tier.
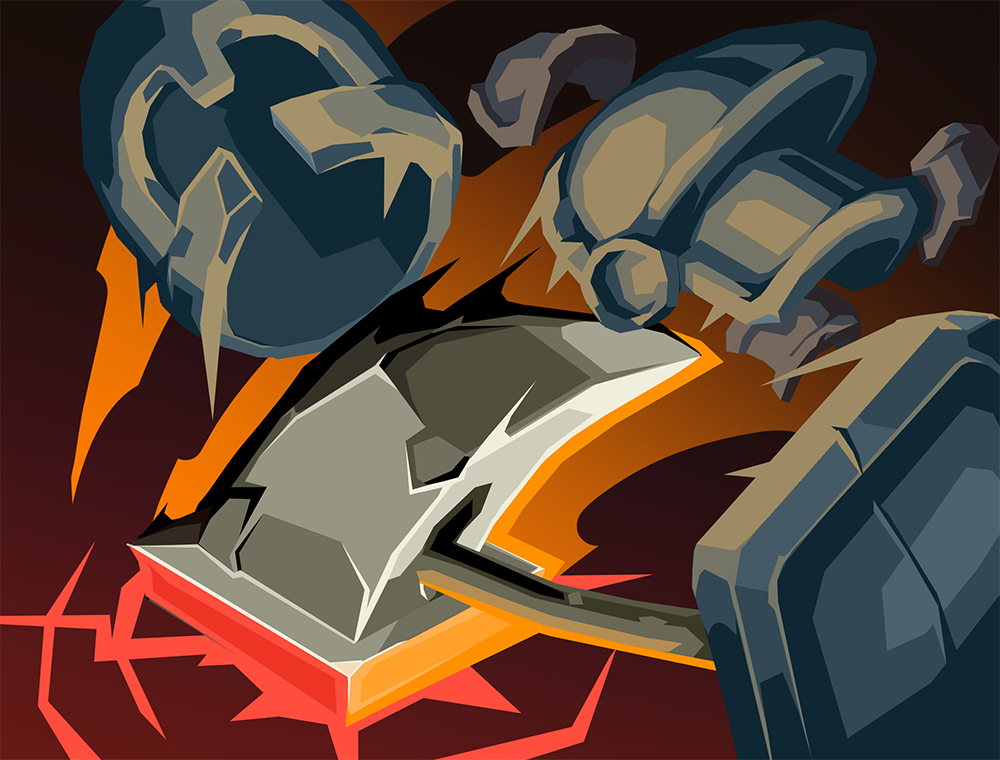
Deal 8 damage.If the enemy is Vulnerable, hits twice.
1 energy deal 8, if enemy is Vulnerable hits twice. Strong early game with Bash — 1 energy deal 24 against Vulnerable elites. Solid Act 1 damage pick.
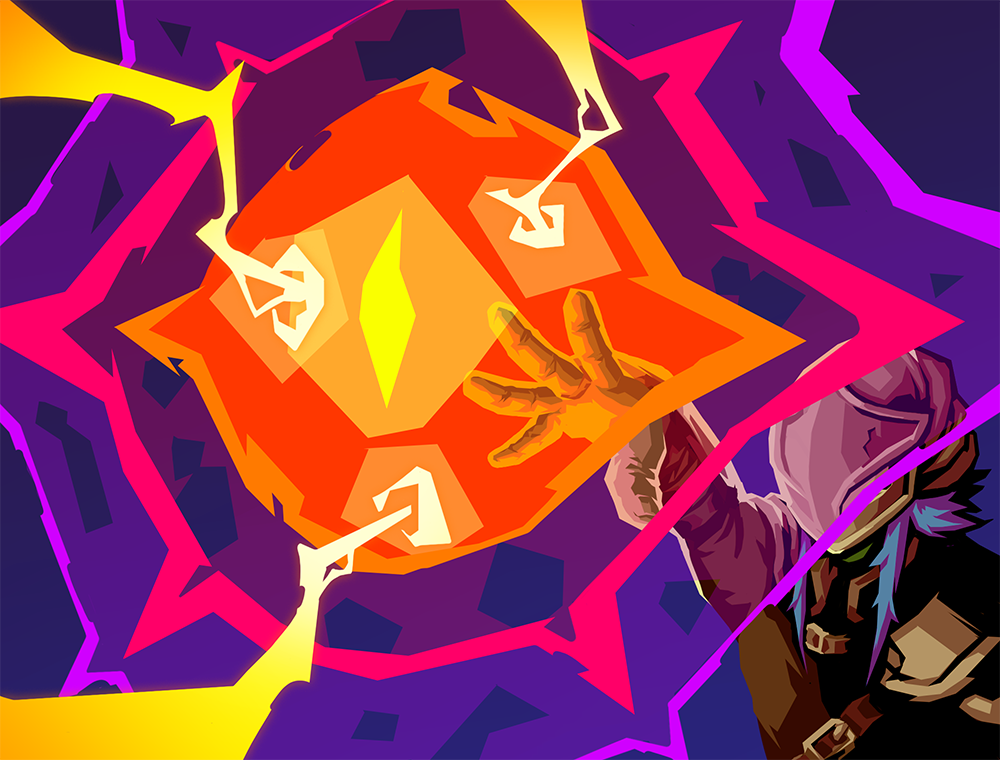
Gain 8 Block.Gain another 8 Block if you have Exhausted a card this turn.
1 energy gain 8 block, +8 block if you exhausted a card this turn. With Burning Pact often gives 16 block. Even 8 alone isn't horrible. Helps stall while you set up your exhaust engine.

Whenever a card is Exhausted, gain 3 Block.
3 block per exhaust. Was an easy S tier in Spire 1 — biggest fall from grace. Skip consistently now. Can help with Second Wind setup but you can't pick it in Act 1 and it's not needed for infinite.

Exhaust your Hand.Deal 7 damage for each card Exhausted.Exhaust.
Exhaust hand, deal damage per card exhausted. Overlaps with Stoke's role but as an attack. Can be useful for burst damage and deck thinning. Middle of B.

Gain 12 Block.Whenever you are attacked this turn, deal 4 damage back.
12 block, when attacked deal 4 reflect damage. Chunky early game block. Against multi-hit enemies (Act 2 boss that hits 8 times) it becomes very strong. Top of B.

Deal 9 damage.Put a card from your Discard Pile on top of your Draw Pile.
Solid early game card. Puts combo pieces back on top (Burning Pact + Forgotten Ritual, Bloodletting + Burning Pact). Substantially worse than Spire 1 because it doesn't directly contribute to infinite loops.

Whenever you draw a card containing “Strike”, it is played against a random enemy.
2 energy: Strikes played against random enemy. Has a soft-lock cap on Pommel Strike — plays 9 times then stops. With 3-5 Pommel Strikes the fight ends. Fun but awkward for strict infinite plans. Bottom of B.
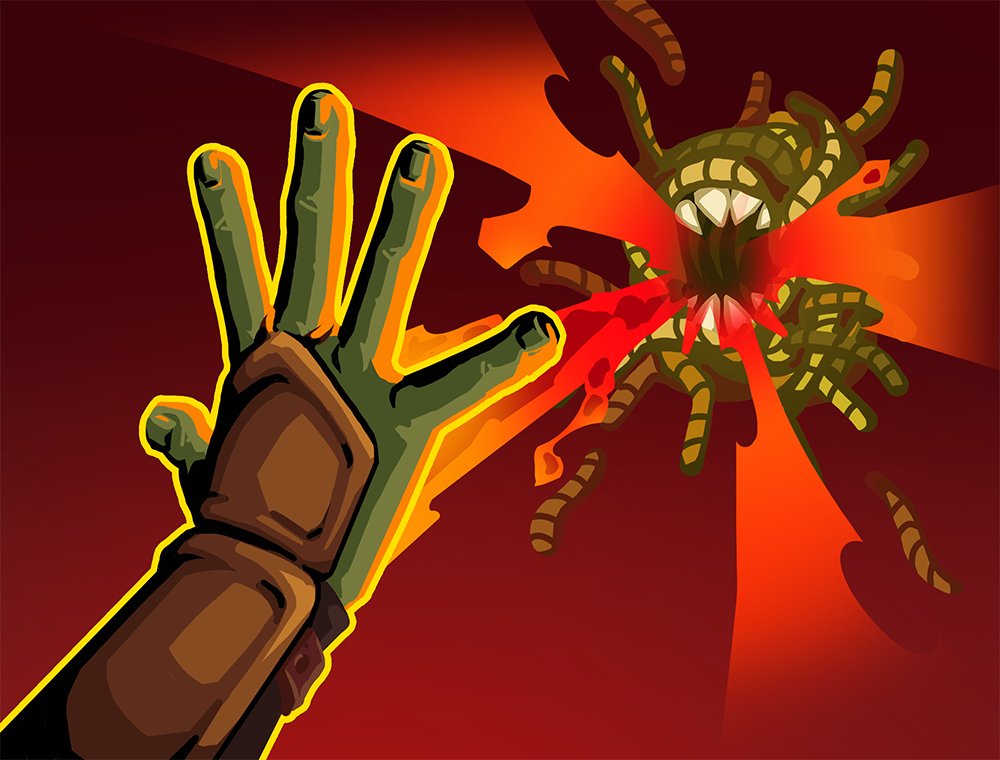
Lose 2 HP.Deal 15 damage.
Lose 2 HP deal 14 (19 upgraded). Big damage that combos with Vulnerable. Not as exceptional as Spire 1 — you're usually picking other stuff over it, but the raw damage is always relevant.

At the start of your turn, lose 1 HP.Whenever you lose HP on your turn, deal 6 damage to ALL enemies.
Start of turn lose 1 HP: whenever you lose HP deal 6 to all. Better than Combust was. Works with HP loss synergies. Decent power card for AoE pressure. Middle of B.

Gain 2 Strength.
1 energy gain 2 strength. Used to be pick-on-sight — way worse now. Helps kill elites and bosses in Act 1. Infinite attacks make strength scaling largely unnecessary. Much less strength payoff in Spire 2.

Gain 30 Block.Exhaust.
2 energy gain 30 block, exhaust. Slam it on sight for Act 1 performance. Once you're going infinite, don't pick more. Not worth building around Barricade/Body Slam anymore.

Gain 5 Block.Deal 5 damage.
1 energy deal 5, gain 5 block. Mediocre Strike+Defend hybrid. Prevents chip damage. Try to skip but it's not the worst Act 1 pick. Bottom of B.
Whenever you play an Attack this turn, gain 3 Block.
0 energy: gain 3 block per attack played (5 upgraded). Turns Pommel Strikes into block. Rage + Bash + Strike = 10 block for free. Top of B for early game value.

Deal 9 damage.Increase this card's damage by 5 this combat.
Deal 9, gains +5 each play. Got buffed in Spire 2. Kills Act 1 bosses if you can cycle it. Picking draw cards to cycle Rampage is a valid early strategy. Bottom of B.
At the end of your turn, 1 random Attack in your Hand is played against a random enemy.
2 energy: end of turn one random attack is played. Cheats expensive cards into play for essentially 1 energy per turn on an attack. Bottom of B.
Gain 8 Block.Draw 1 card.
1 energy 8 block draw 1. The classic block + draw. Turns off Pillage though (draws a non-attack). Good for blocking early hallway fights. Less essential than in Spire 1.

Gain 7 Block.Exhaust 1 card at random.
7 block, exhaust random card (targeted when upgraded). Demands upgrade to be reliable. Better than Spire 1 given the exhaust meta. Not premium but serviceable.

Deal 4 damage and apply 1 Vulnerable to ALL enemies.
1 energy deal 4, apply 1 Vulnerable to all enemies. Bad in Spire 1 but AoE is more important now. Combos amazingly with Vicious (S tier) — each Vulnerable application draws a card. Always click in Act 1.
Deal 13 damage.Apply 1 Weak.Apply 1 Vulnerable.
2 energy deal 13, apply 1 Weak + 1 Vulnerable. Harder to upgrade than Spire 1. Only source of Weakness for Ironclad. Less necessary when going infinite — you don't need defensive debuffs.
Situational Picks
18 cards
C-tier cards are generally not worth picking unless you're desperate in Act 1 or have a very specific reason. Many are clunky, slow, or work against the infinite strategy. Only take these when alternatives are worse.
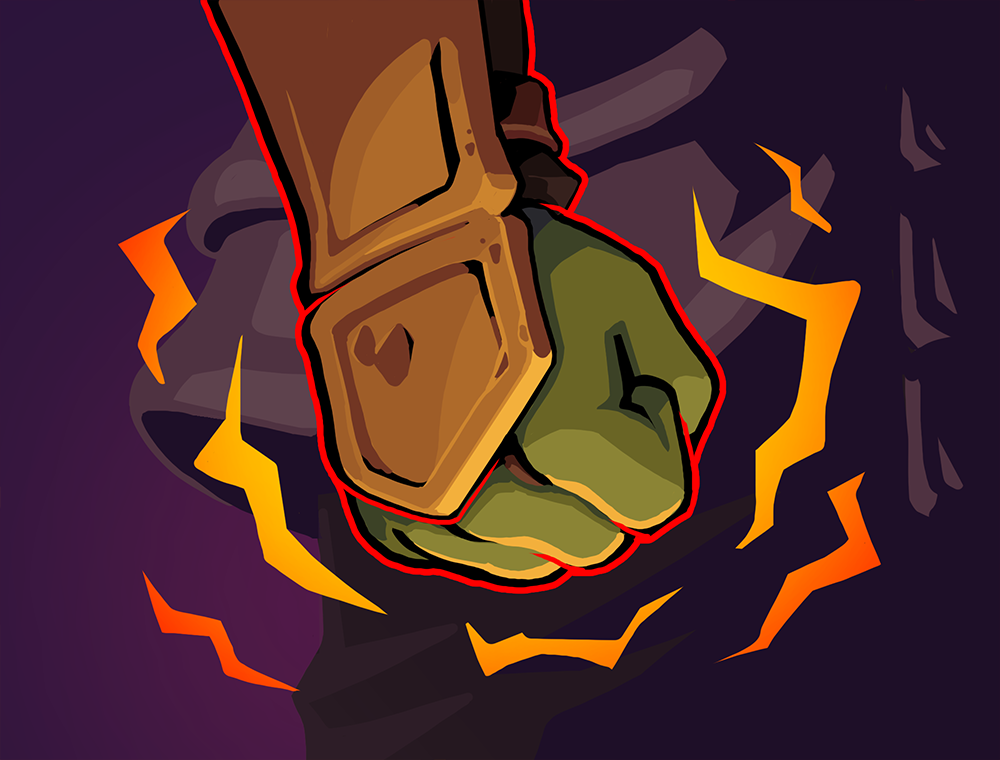
At the start of your turn, put a random Attack from your Discard Pile into your Hand and Upgrade it.
1 energy Rare: start of turn put random attack from discard into hand and upgrade it. Extremely slow draw/scaling. Normally unpickable, but can kill a boss if you're failing Act 1 with no other options.
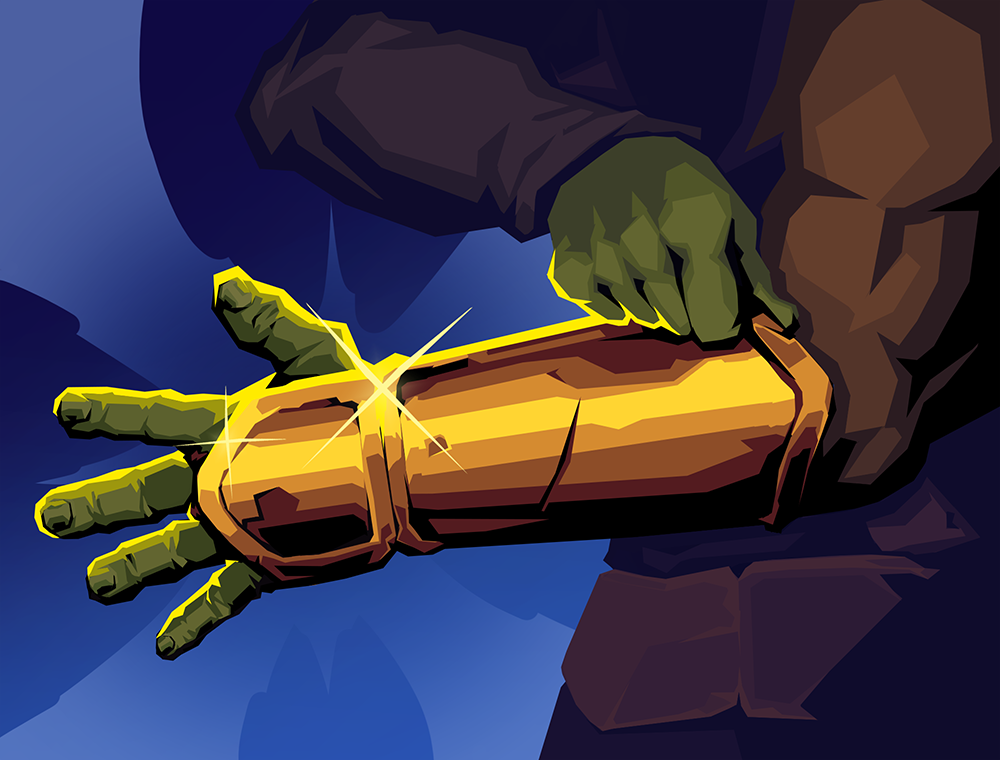
Gain 5 Block.Upgrade a card in your Hand.
1 energy 5 block, upgrade a card in hand. Incredibly slow scaling. Defend that converts to minor damage/block improvement. Not worth a card slot in most decks.
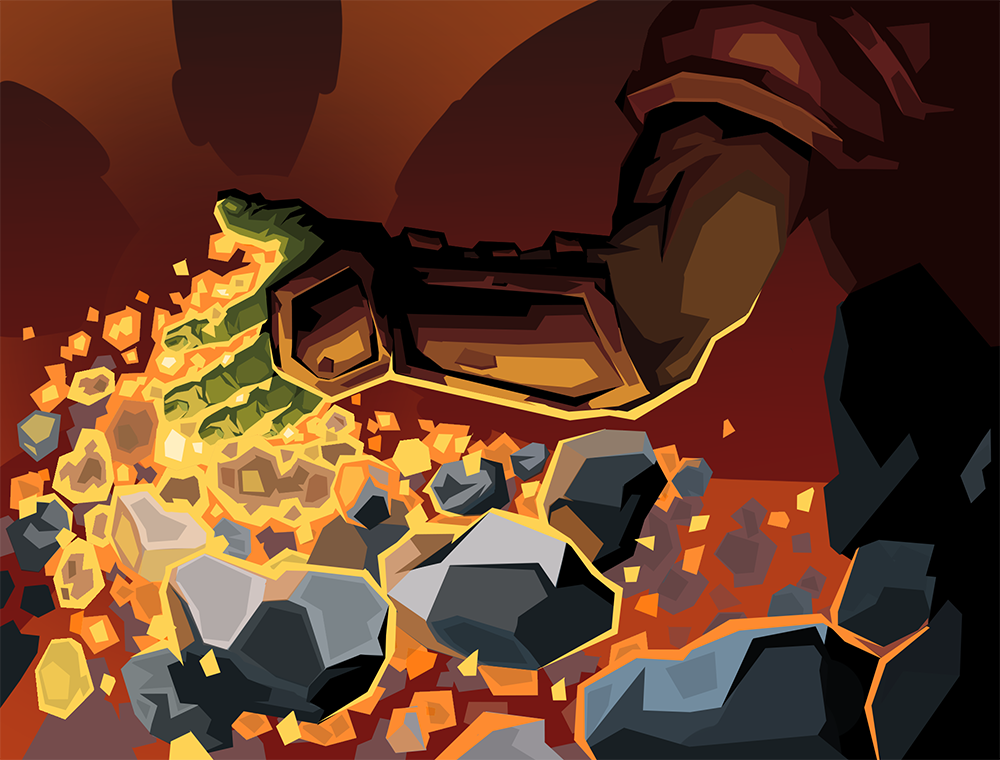
Deal 6 damage.Deals 3 additional damage for each card in your Exhaust Pile.
1 energy deal 6 + 3 per card exhausted this turn. Slow scaling that requires exhaust setup. If you're exhausting, you have better things to care about.

Lose 2 HP.Gain 16 Block.
2 energy lose 2 HP gain 16 block (14 effective). Doesn't help you win or generate value for your HP loss cards. Shuts down late game potential without contributing to the game plan.
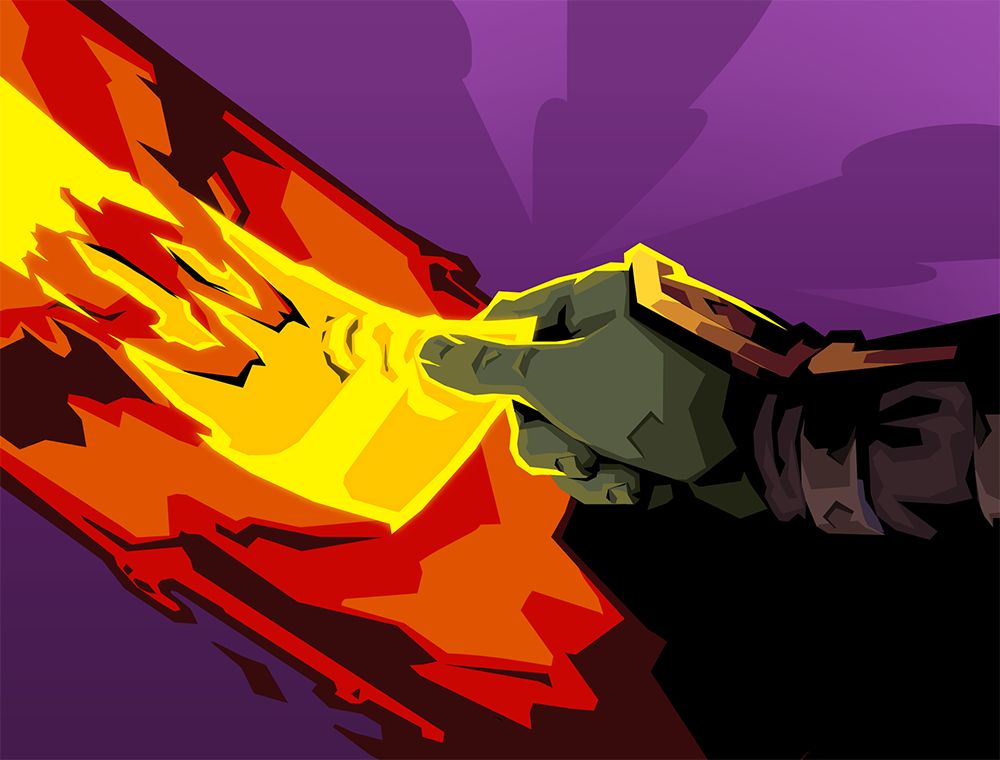
Play the top X cards of your Draw Pile.
X energy: play the top X cards of your draw pile. Weird card that cheats energy and draw but can play Second Wind or Fiend Fire at the wrong time. Without Frozen Eye, you have no control. Skip most of the time.

Deal 18 damage.Exhaust the top card of your Draw Pile.
2 energy deal 17, exhaust the top card of your draw pile. No control of what you exhaust — can exhaust Bloodletting and die. Worse than comparable damage options.
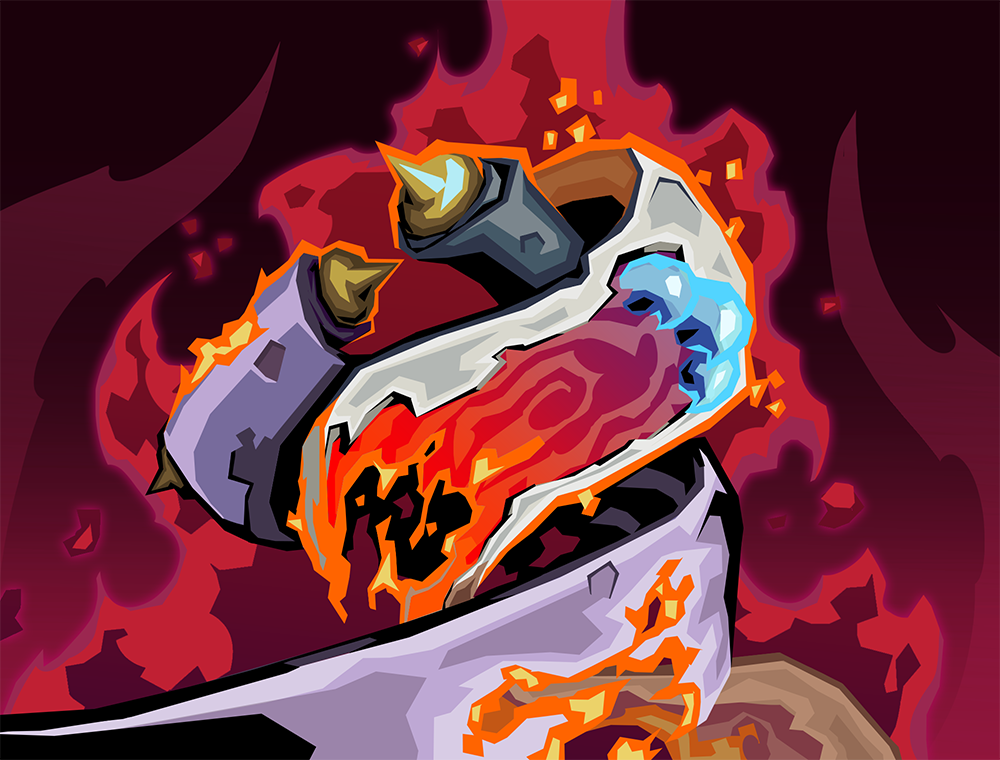
Deal 8 damage to ALL enemies.Deals 2 additional damage for each other Attack you've played this turn.
1 energy deal 8 to all + 2 per other attack in hand. Strange Rare that's outclassed by uncommon alternatives. Awkward scaling condition.
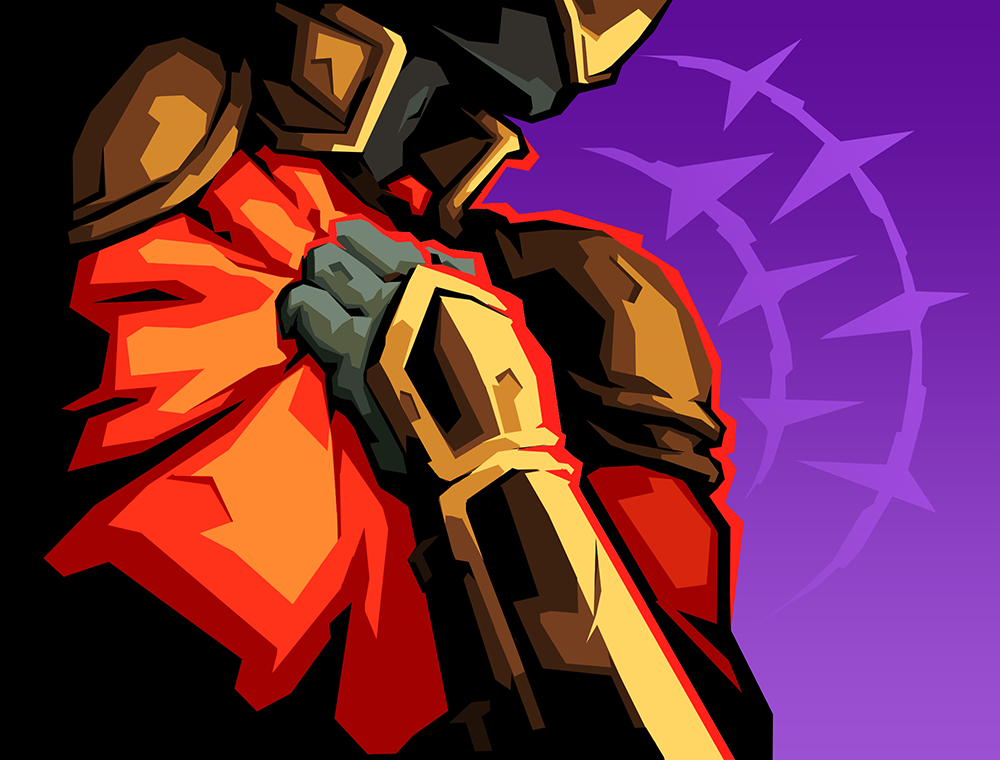
Draw 2 cards.At the start of your turn, Exhaust the top card of your Draw Pile.
0 energy: draw 2 cards, but start of turn exhaust the top card of draw pile. Can exhaust key combo pieces randomly. Only pick when you're already winning.

Deal 7 damage.Whenever you gain Block this turn, deal 5 damage to the enemy.
1 energy deal 7, if you have block also deal 5. Play Grapple + 2 Defends = 17 damage. But you often play Bash instead of blocking, making the bonus unreliable.
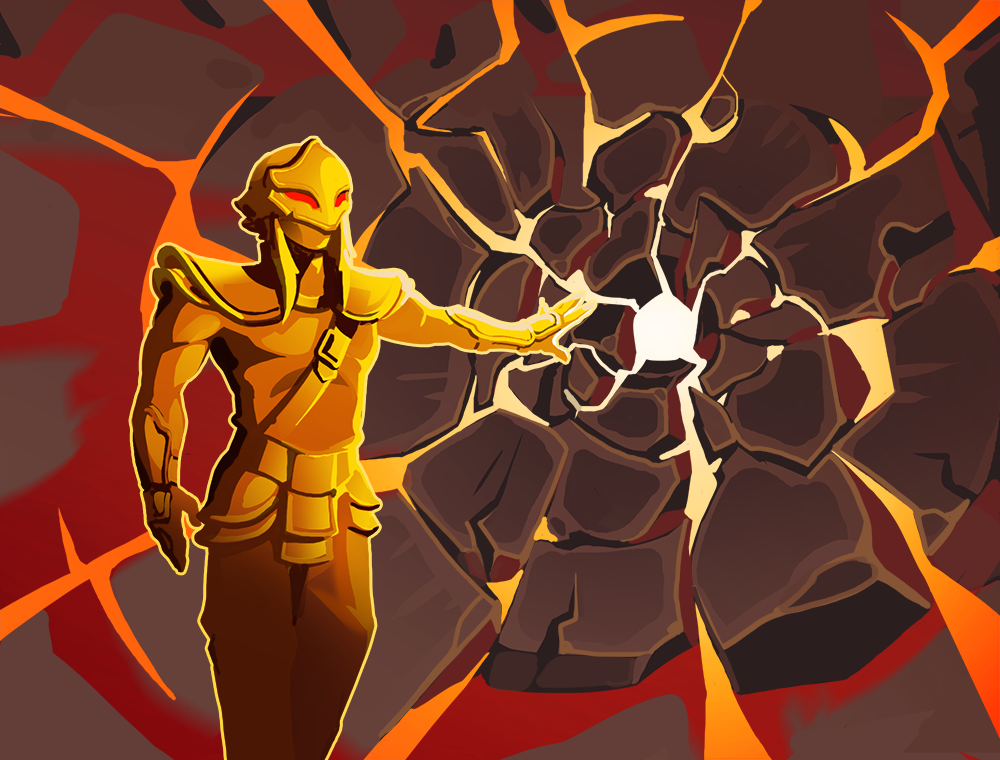
Whenever you gain Block, deal 5 damage to a random enemy.
2 energy: whenever you gain block, deal 5 damage. How often is Ironclad blocking? Without Feel No Pain doubling up, this rarely generates meaningful value.
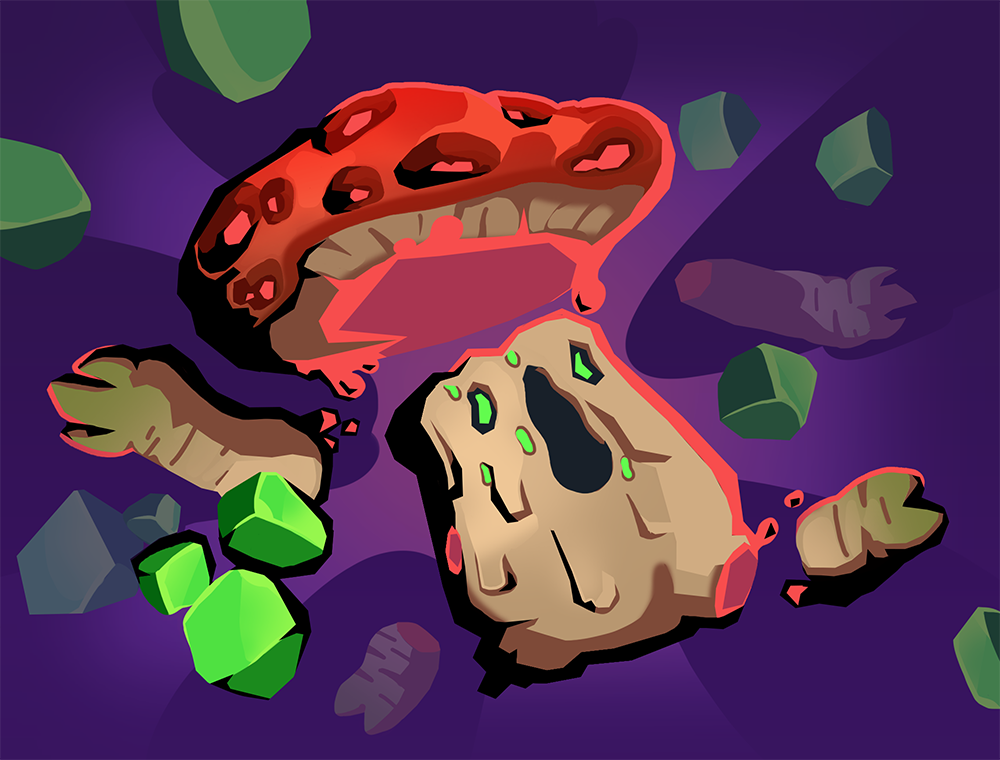
Deal 15 damage.Enemy loses 10 Strength this turn.
3 energy Rare: deal 15, enemy loses 10 strength. Block 10 worth of damage. But you're paying all your energy for it — could easily cost 2 and still be fair. Top of C.
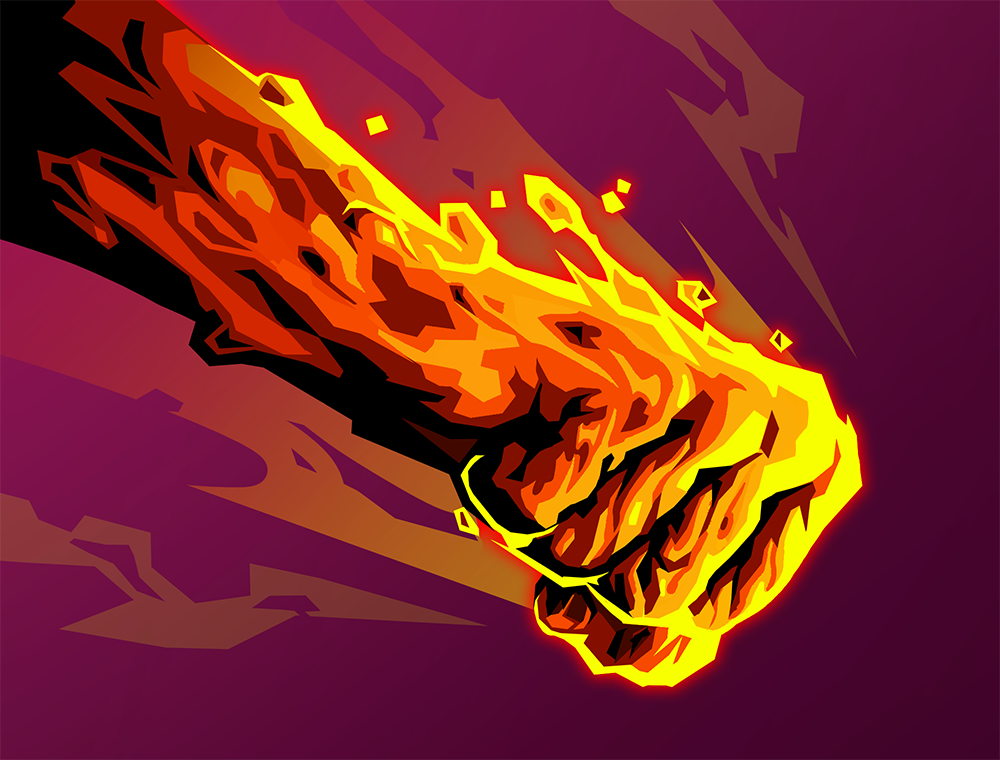
Deal 10 damage.Double the enemy's Vulnerable.Exhaust.
Deal 10 damage, double Vulnerable duration, exhaust. Vulnerable synergy doesn't work well because you need just enough Vulnerable, not extra stacking.

Deal 6 damage.Deals 2 additional damage for ALL your cards containing “Strike”.
2 energy deal 6 + 2 per Strike card. Buffed to count exhaust pile, but you're removing Strikes more often at shops. Felt bad in practice.
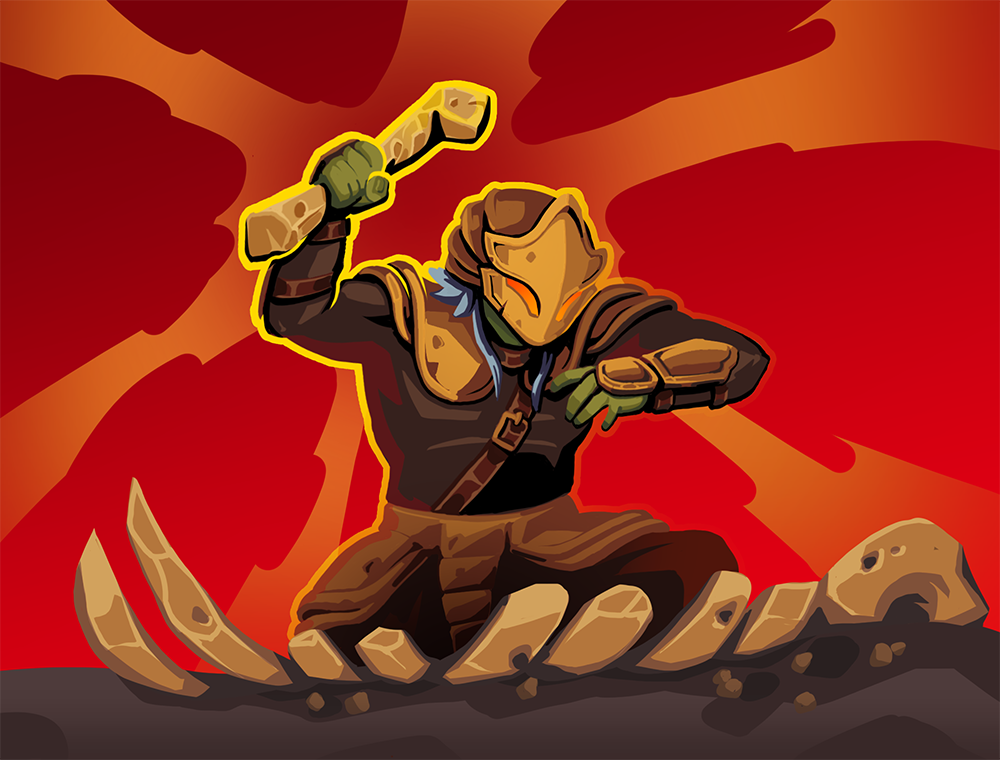
Transform all Attacks in your Hand into Giant Rock.
0 energy: transform all attacks into Giant Rock (1 energy deal 13-16). Kills stuff in Act 1 single-handedly. Gets exhausted by Second Wind — often don't want to turn your hand into attacks. A-tier in Act 1 but falls off.

Gain at the start of each turn.
Exhaust-based damage that requires setup. Not bad with the exhaust package but there are better options for the same slot.
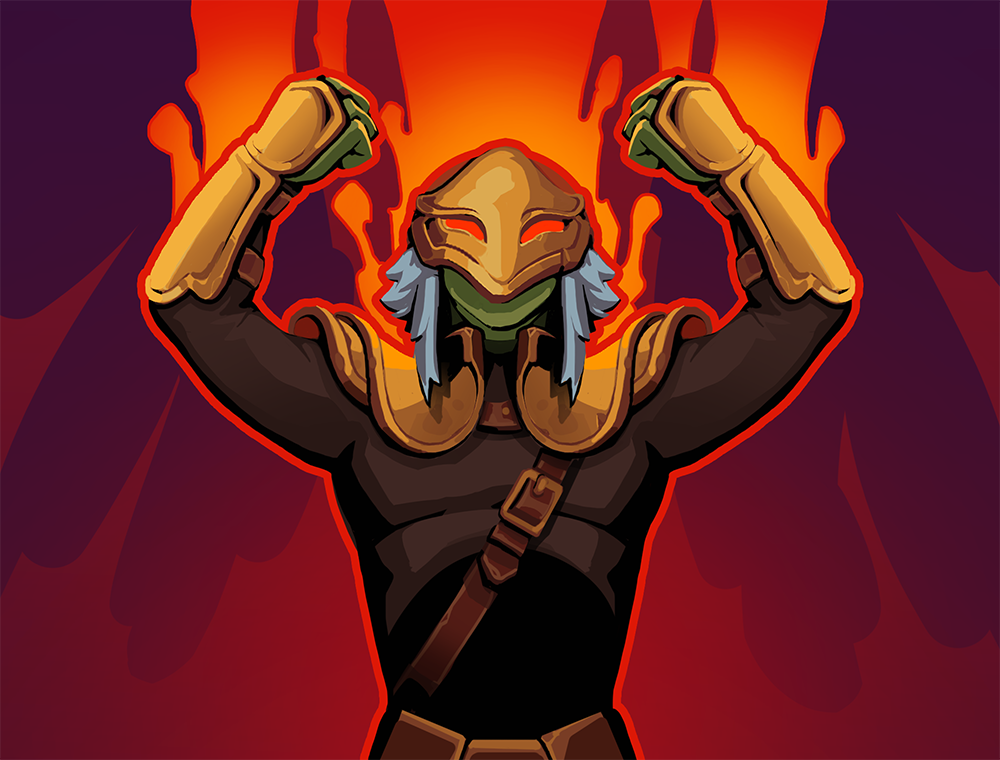
Whenever you lose HP on your turn, gain 1 Strength.
1 energy: whenever you lose HP, gain strength. Strength payoff is not needed when going infinite. Bloodletting + Bash already kills without strength stacking.
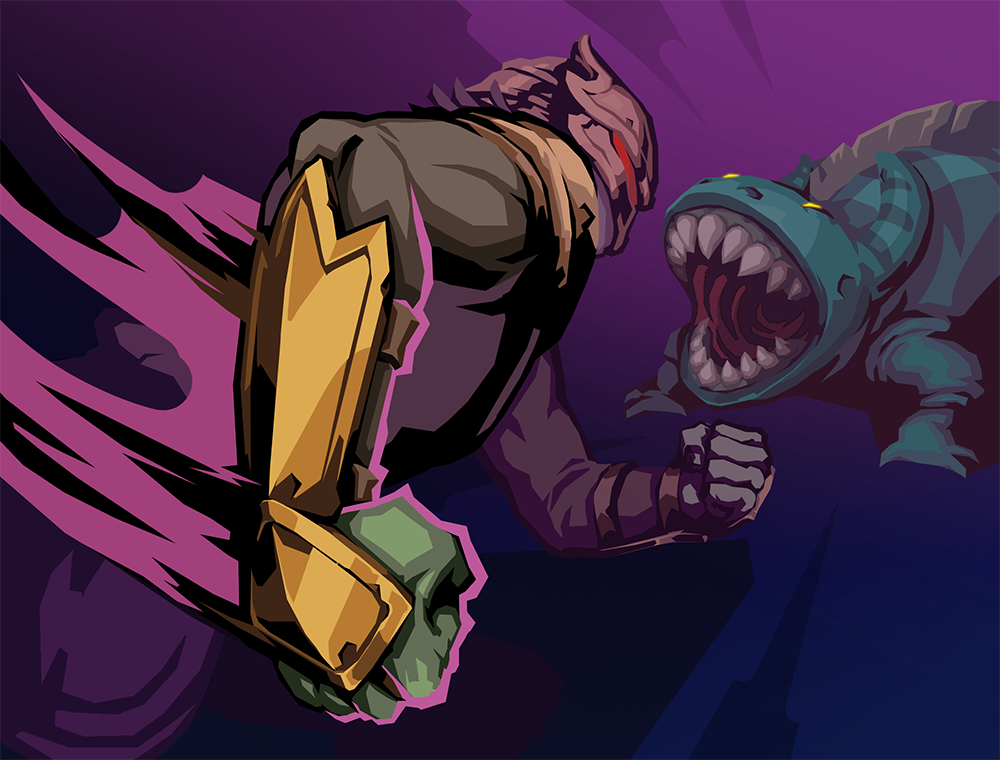
Deal 7 damage.Gain 2 Strength this turn.
1 energy deal 7, gain 2 strength. Strength cards are simply not necessary in the current meta. C tier desperation pick.
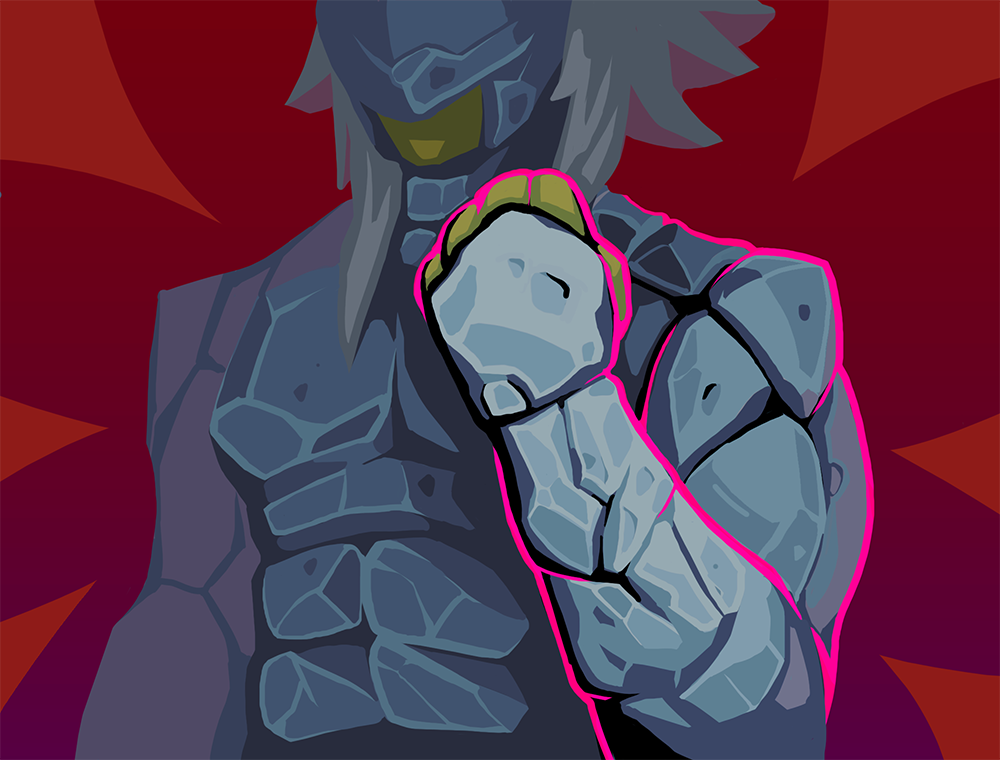
Gain 4 Plating.
1 energy gain 4 Plating. Plating decreases per turn (worse than Metallicize). Block value goes 4, 3, 2... The ceiling isn't high. Top of C.
Generally Avoid
8 cards
D-tier cards actively hurt your deck or provide so little value that skipping card rewards is usually better. These cards either brick your infinite loops, provide negligible output, or have conditions too hard to meet.

Deal damage equal to your Block.
1 energy deal damage equal to your block. Needs upgrade for 0-cost loop, and there are a million better options. Power Through and Feel No Pain are gone or nerfed — there are no enablers for a block-based strategy anymore.
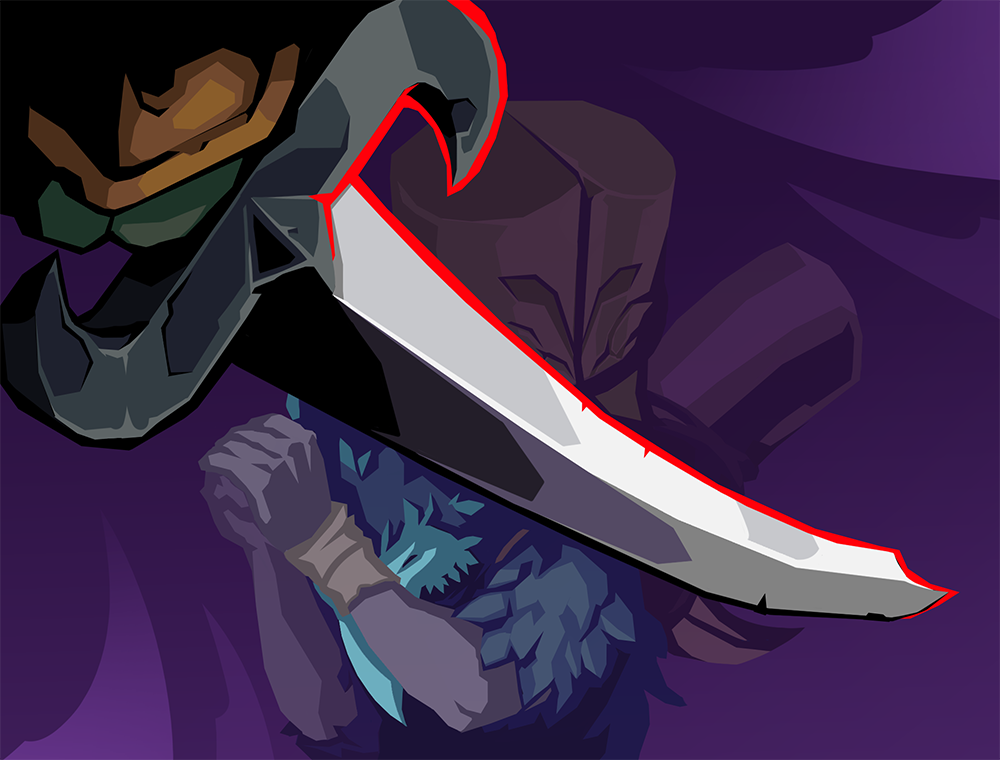
Apply 1 Vulnerable.Gain 1 Strength for each Vulnerable on the enemy.Exhaust.
1 energy gain 1 strength per Vulnerable stack, exhaust. Best use: get it out of your deck for 1 energy. Draw-order reliant and you'd rather just play a Strike.

Deal 5 damage twice.Gain 3 Strength.The enemy gains 1 Strength.
2 energy deal 5x2, gain 2 strength, but enemy gains 1 strength. Expensive for middling damage + 2 strength, and buffing the enemy is always bad.

Play the top card of your Draw Pile and Exhaust it.
1 energy play top card of draw pile, exhaust it. Headbutt+Havoc combo requires too much setup. Better zero-energy exhaust options exist. Too random without Frozen Eye.
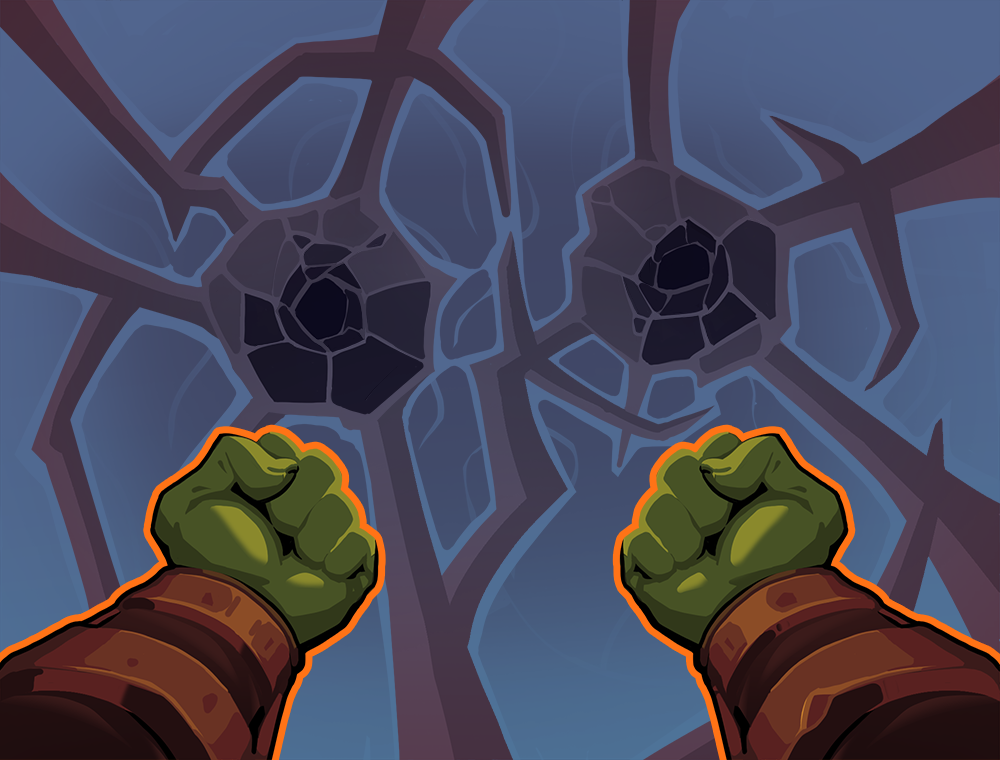
This turn, your next Attack is played an extra time.
1 energy: next attack plays an extra time. Awkward Double Tap variant. Can theoretically go infinite with 0-cost attacks but the setup is too unreliable.

Deal 5 damage.Hits an additional time for each time you lost HP this combat.
Damage card with anti-synergy for the infinite plan. The condition is too restrictive and the payoff too low to justify a card slot.

Deal 3 damage to a random enemy 3 times.
1 energy deal 3 damage 3x to random enemies. Strength scaling is worse than Spire 1, and the random targeting is bad when AoE is what you actually need.
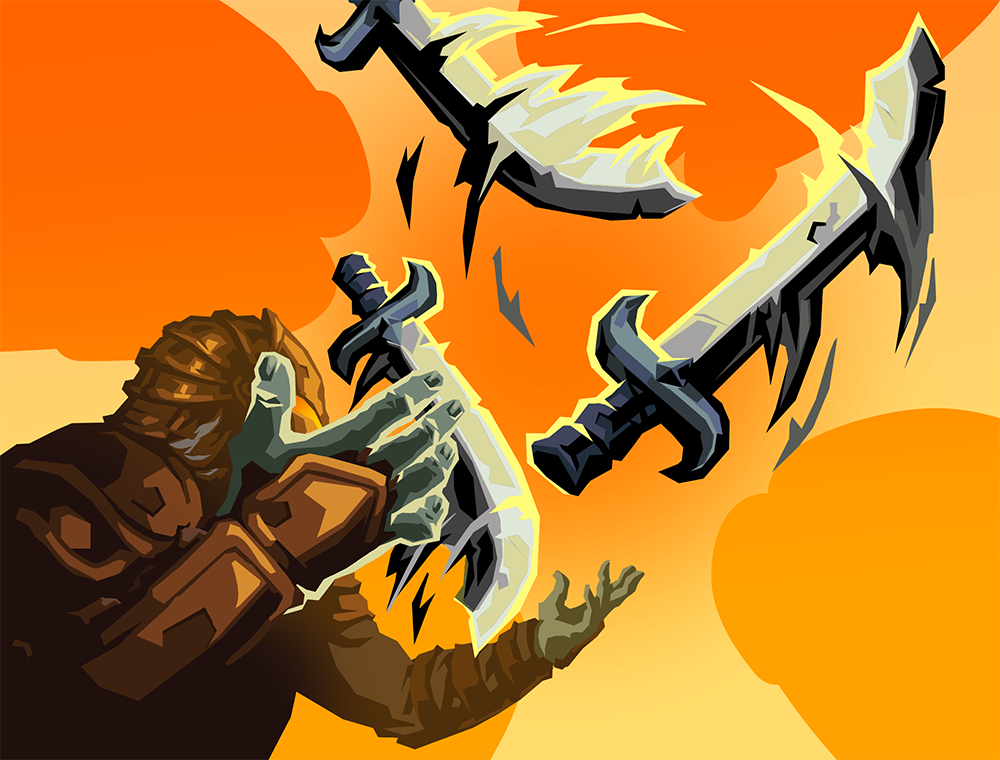
Add a copy of the third Attack you play each turn into your Hand.
1 energy: add a copy of the 3rd attack you play. Can brick infinite loops by adding unwanted copies. Only theoretically good with Flash of Steel cloning, which is too niche.
Ironclad Card Strategy Notes
- 1Act 1 focus: Pick minimal cards to survive; prioritize damage, Bloodletting, Pommel Strike. Early game is the most dangerous phase — if you get through Act 1, you usually win.
- 2Infinite plans: Bloodletting + Pommel Strike loops; Expect to Fight / Forgotten Ritual for energy; Burning Pact, Second Wind, Stoke for exhaust/draw. Two Spites + Bloodletting = infinite.
- 3Stoke is the best card: Exhaust your hand, draw equal cards. Fiend Fire + Dark Embrace effect on one card, no synergy required.
- 4Vicious + Taunt = draw engine: Whenever you apply Vulnerable, draw cards. Thunderclap applies Vulnerable to all enemies, drawing per enemy hit.
- 5Avoid: Block-heavy builds; Barricade/Body Slam combo is much weaker than Spire 1; cards that brick infinite loops.
- 6Hard fights: Act 1 elites, Worm boss (status spam), Hunterkiller (decks you down). AoE is more important than in Spire 1.
- 7Strength scaling is largely unnecessary when going infinite — cards like Inflame and Demon Form lose value compared to Spire 1.
Ironclad Guide
Character overview and strategies
Full Tier List
Character and build rankings
All Card Tier Lists
Card rankings for every character
Card Database
Browse all cards with effects and stats